
Your child’s favorite toy car has stopped working again. The wheels won’t turn, the motor won’t engage, or the battery compartment seems stuck. Before you toss it in the trash or head to the store for a replacement, most toy car issues can be resolved with simple household tools and basic troubleshooting steps. Toy car repair doesn’t require expensive equipment or technical expertise—just patience and a systematic approach to identifying common problems. In this guide, you’ll learn how to diagnose and fix the most frequent issues across different toy car types, saving money while teaching valuable problem-solving skills through hands-on repair.
Identifying Your Toy Car Type Before Repairing

Before attempting any repairs, determine what kind of toy car you’re working with as this affects your repair approach. Different construction methods require specific handling techniques to avoid causing additional damage during the repair process.
Plastic Wheel-Driven Toy Cars
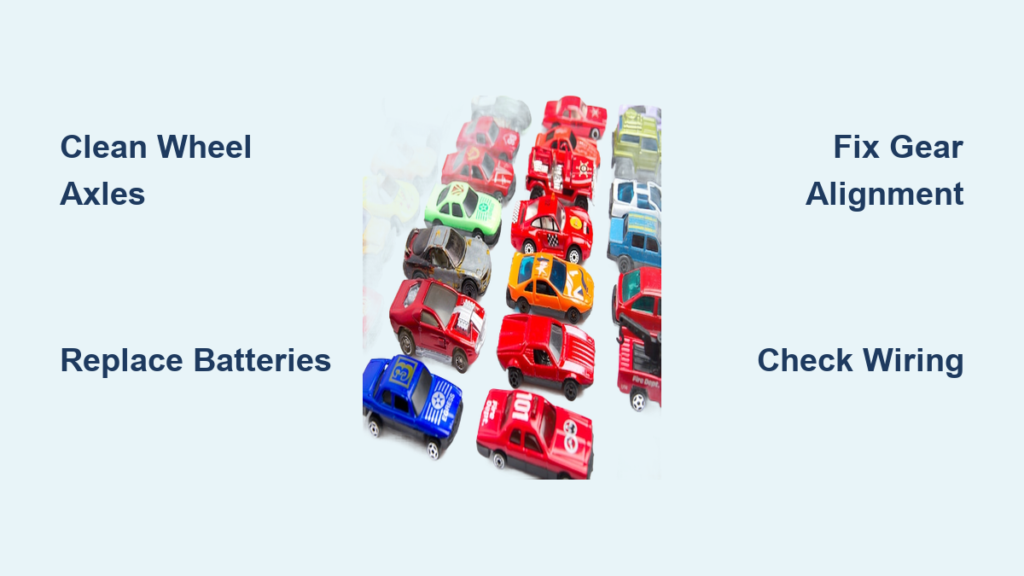
These common preschool toys feature wheels that turn the internal mechanism. When these stop moving, the issue is typically either jammed wheels or internal debris. Check for visible obstructions around the wheel axles first—small bits of carpet fiber, dried mud, or even food crumbs can prevent proper rotation. If wheels spin freely when lifted off the ground but not when placed down, the gear mechanism inside has likely become misaligned from rough play.
Battery-Powered Motorized Toy Cars
For toys that move on their own, battery issues account for nearly 70% of problems. Before disassembling anything, replace batteries with fresh ones—even if the old ones appear functional. Corrosion in the battery compartment is a frequent culprit; carefully clean any white or green crusty buildup with a cotton swab dipped in vinegar, then dry thoroughly before inserting new batteries. If the toy still doesn’t work, check that battery contacts aren’t bent away from the terminals, as this prevents proper electrical connection.
Remote-Controlled Toy Vehicles
RC cars introduce additional complexity with their electronic components. Start troubleshooting by testing both the car and remote control batteries separately. If the car responds to direct power but not the remote, the issue lies in the signal transmission. Ensure the antenna (if present) is fully extended and undamaged. For more advanced models, check for physical damage to wiring harnesses that may have occurred during crashes or rough handling.
Essential Household Tools for Toy Car Maintenance
You don’t need a professional toolkit to repair most toy cars. The right basic tools make the process efficient while preventing damage to fragile components during disassembly and reassembly.
Basic Disassembly Tools
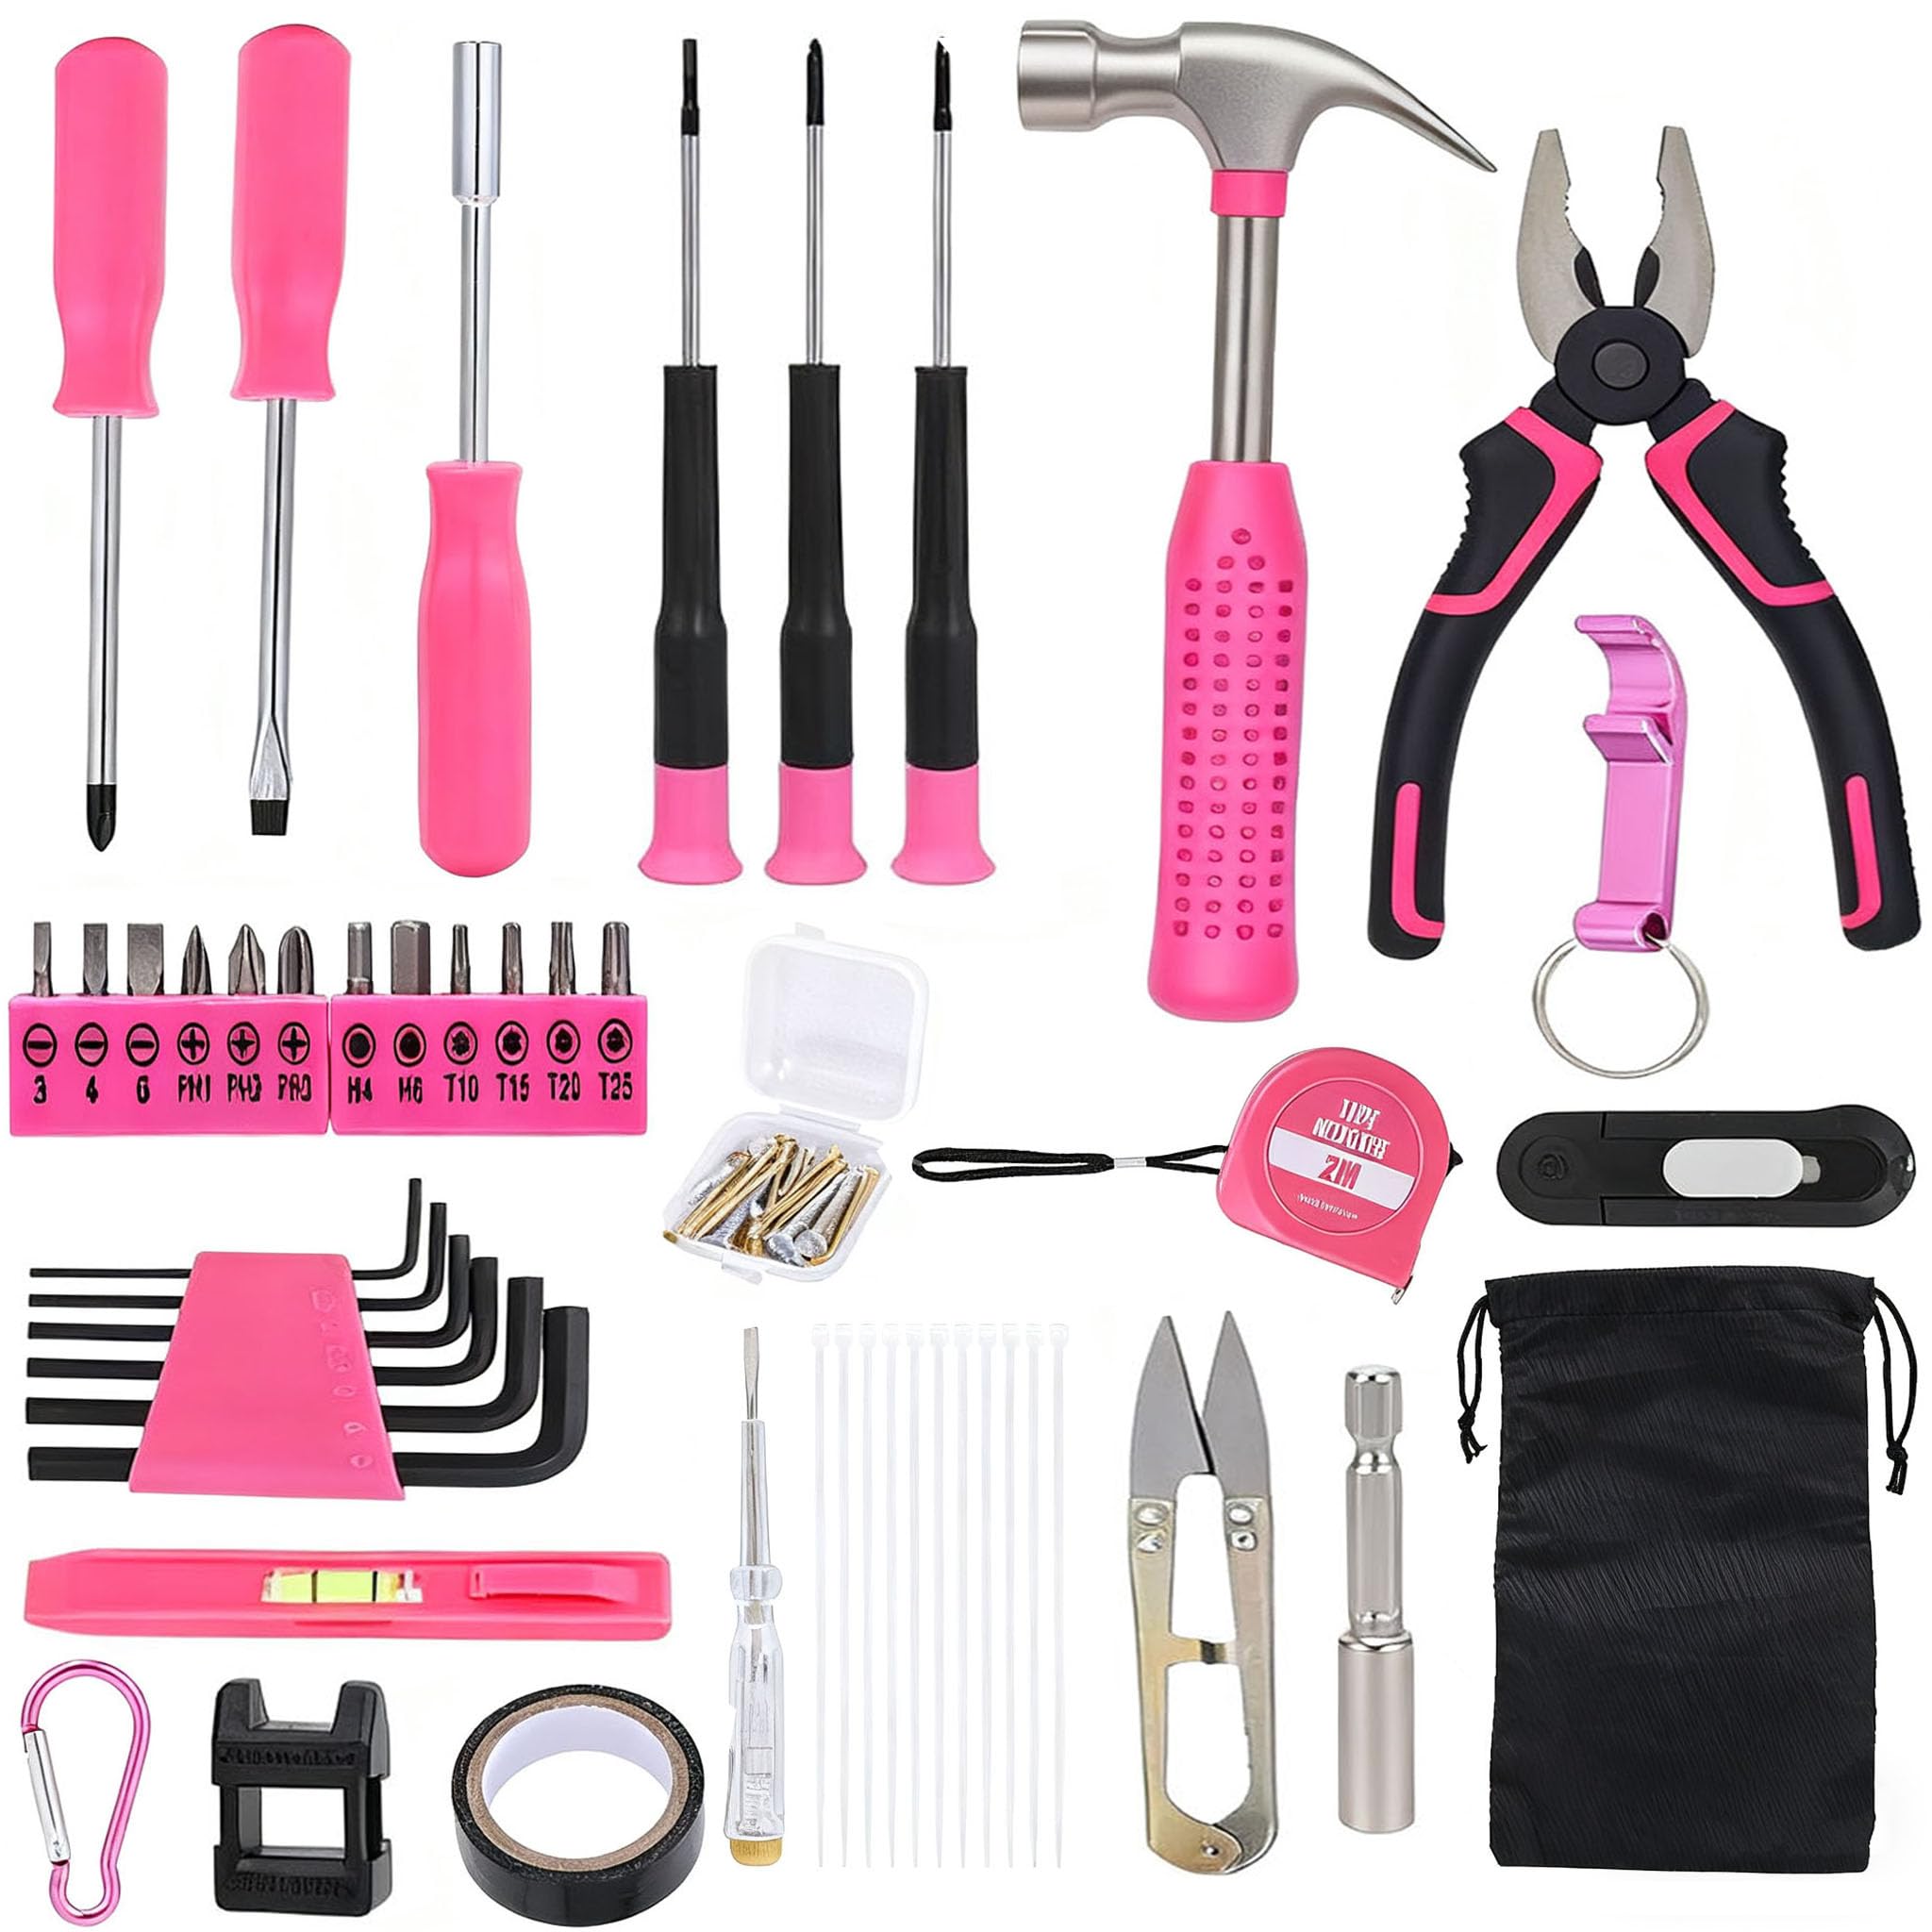
Keep these everyday items in your toy repair kit:
– Small flathead screwdriver (for prying open cases and adjusting contacts)
– Precision Phillips screwdriver set (for securing internal components)
– Tweezers (for retrieving small parts and debris)
– Needle-nose pliers (for bending metal contacts back into position)
– Soft-bristled toothbrush (for cleaning dirt from mechanisms)
Cleaning Supplies That Won’t Damage Toys
Never use harsh chemicals on children’s toys. Instead, prepare these safe cleaning solutions:
– Distilled white vinegar (for battery corrosion)
– Mild dish soap and warm water (for external cleaning)
– Isopropyl alcohol (70% concentration for electronic contacts)
– Compressed air (for blowing out dust from internal mechanisms)
– Microfiber cloths (for drying and polishing)
Step-by-Step Fixes for Stuck Wheels and Axles
Wheels that won’t turn represent one of the most common toy car problems, especially for younger children’s toys. This issue usually stems from simple causes that you can address in under ten minutes.
Removing Debris From Wheel Mechanisms
- Turn the toy upside down and rotate each wheel individually to identify which ones are stuck
- Use a toothpick to carefully dislodge visible debris around the wheel base
- Apply a few drops of sewing machine oil (or light vegetable oil in a pinch) around the axle
- Rotate the wheel manually for 30 seconds to work the lubricant into the mechanism
- Wipe away excess oil with a paper towel to prevent attracting more dirt
Warning: Never use WD-40 or heavy lubricants as they can degrade plastic components over time.
Fixing Misaligned Gears in Pull-Back Mechanisms
Pull-back motor toys frequently develop gear misalignment after drops or impacts. To correct this:
- Locate the small access panel (usually on the bottom) and remove securing screws
- Gently separate the casing while noting how internal components connect
- Identify the gear assembly and ensure all teeth properly interlock
- Manually rotate the main gear to reset the spring mechanism
- Reassemble carefully, ensuring no wires or gears are pinched
Troubleshooting Electrical Issues Without a Multimeter

You don’t need advanced electronics knowledge to fix most battery-powered toy car problems. Simple visual inspections and systematic testing can resolve the majority of electrical issues.
Why Your Toy Car Only Works Briefly Then Stops
This symptom typically indicates either:
– Weak batteries that can’t sustain power (try higher-quality alkaline batteries)
– Overheating motor (allow 15 minutes cooling time before reuse)
– Intermittent connection (check for broken wires near stress points)
– Safety cutoff activation (common in newer models after prolonged use)
Restoring Power to Seemingly Dead Toy Cars
Follow this diagnostic sequence before concluding the motor has failed:
1. Test with brand new batteries from an unopened package
2. Clean both battery terminals and contacts with isopropyl alcohol
3. Check for physical damage to the on/off switch mechanism
4. Inspect wiring for visible breaks, especially where wires enter the motor
5. Gently tap the motor housing while powered to check for intermittent connection
Preventing Future Breakage Through Smart Maintenance
The best repair is the one you never have to do. Implement these simple maintenance habits to extend your toy cars’ lifespan significantly.
Weekly Care Routine for Long-Lasting Toy Cars
Spend just five minutes each week maintaining your child’s toy vehicles:
– Wipe down exterior with damp microfiber cloth to remove dirt buildup
– Check wheel rotation and clean axles as needed
– Inspect battery compartment for early signs of corrosion
– Tighten any loose screws on body panels or accessories
– Store in a dedicated container away from extreme temperatures
Teaching Children Proper Toy Car Handling
Involve your child in the repair process to demonstrate proper care:
– Show how dropping the toy from height damages internal components
– Explain why driving through sand or wet areas causes mechanical problems
– Demonstrate appropriate surfaces for play (smooth floors vs. rough terrain)
– Create a “toy rest” period after extended play sessions to prevent overheating
When Toy Car Damage Requires Professional Help
While most issues can be resolved at home, certain problems indicate it’s time to consult a toy specialist or consider replacement.
Irreparable Damage Signs
Stop further disassembly if you encounter:
– Melted or charred components near the motor
– Cracks in the main chassis that compromise structural integrity
– Water damage to electronic circuit boards
– Missing or broken proprietary parts with no replacement source
Cost-Benefit Analysis for Major Repairs
Ask these questions before investing significant time or money:
– Is the toy worth more than $20 in sentimental or monetary value?
– Can replacement parts be sourced affordably?
– Does the repair time exceed 30 minutes for basic models?
– Would purchasing a new toy provide better durability features?
Final Tips for Successful Toy Car Repair Sessions
Approach each repair session with these practical considerations to ensure success and safety.
Creating the Right Workspace
Prepare a dedicated repair area with:
– Good lighting (a desk lamp prevents missed details)
– Magnetic mat for keeping small screws organized
– Clear container for disassembled parts
– Non-static surface (avoid working on synthetic fabrics)
– Child-safe workspace if involving your child in repairs
Documenting the Disassembly Process
Before separating components:
– Take photos at each disassembly stage
– Arrange screws by size and location
– Note orientation of internal parts
– Keep rubber bands around reassembled sections
– Work methodically rather than rushing the process
By following these systematic approaches to toy car repair, you’ll extend the life of your children’s favorite vehicles while modeling valuable problem-solving skills. Most common issues can be resolved in under 15 minutes with basic household items, turning potential frustration into a rewarding learning experience. Regular maintenance prevents many problems before they occur, ensuring more playtime and less downtime for those beloved miniature vehicles. When repairs become too complex, knowing when to seek professional help saves time and preserves the toy’s future functionality.