
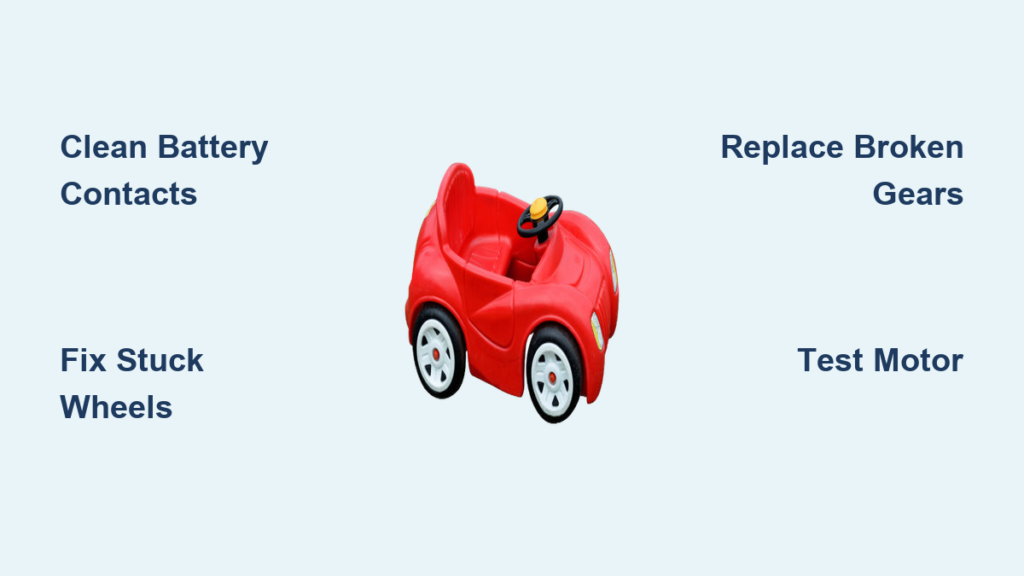
Your child’s favorite toy car suddenly stops zooming across the floor, leaving behind frustrated tears and a silent playroom. Whether it’s a remote-controlled racer, a wind-up speedster, or a simple push-along vehicle, a broken toy car can derail playtime in seconds. This comprehensive guide shows you exactly how to diagnose and repair the most common toy car malfunctions using simple tools you likely already have at home. You’ll learn electrical troubleshooting techniques, mechanical fixes for stuck wheels, and body repair methods that can breathe new life into damaged vehicles—saving you money on replacements and teaching valuable problem-solving skills in the process.
Most toy car failures fall into three categories: electrical issues (dead batteries, motor problems), mechanical failures (broken gears, stuck wheels), and physical damage (cracked bodies, broken parts). The good news is that over 85% of toy car problems can be resolved with basic repair skills and under $10 in replacement parts. Before you toss that motionless vehicle in the trash or head to the store for a replacement, spend 20 minutes working through these proven diagnostic steps and repair techniques.
Diagnosing Your Toy Car’s Specific Problem
Before grabbing tools, systematically identify what’s actually broken through this quick diagnostic process. Many parents waste time replacing batteries or motors when the real issue is something much simpler. Start with the most common failure points and work your way through the system.
Is It an Electrical or Mechanical Failure?
Electrical symptoms typically include:
– Complete silence when activating the toy
– Intermittent operation (works sometimes but not consistently)
– Reduced speed or power compared to when new
– Burning smell near the motor compartment
Mechanical symptoms usually show as:
– Wheels spinning but car not moving
– Grinding or clicking noises during operation
– One wheel stuck while others move
– Visible gear misalignment when opening the chassis
Quick Power Source Troubleshooting
90% of “broken” toy cars simply need fresh batteries or proper battery contact cleaning. Before disassembling anything:
- Remove all batteries and inspect for corrosion (white/green crusty deposits)
- Clean battery terminals with cotton swab dipped in vinegar
- Test batteries in another device to confirm they’re dead
- Insert new batteries of the exact required size and orientation
- Check for a reset button—many modern toy cars have one near the battery compartment
If the car still doesn’t work after these steps, proceed to deeper diagnostics. Always work on a clean, well-lit surface with small containers to hold screws—nothing gets lost faster than tiny toy car hardware.
Fixing Dead Battery and Power Connection Issues

Restoring Corroded Battery Contacts
Battery corrosion is the #1 cause of toy car failure. The chemical reaction between old batteries and metal contacts creates insulating barriers that block electricity flow.
What you’ll need:
– White vinegar
– Cotton swabs or small brush
– Toothpick
– Rubbing alcohol
– Paper towels
Step-by-step repair:
1. Remove all batteries and set aside in a safe place
2. Dip cotton swab in vinegar and scrub all contact points
3. Use toothpick to gently remove stubborn corrosion from crevices
4. Wipe clean with vinegar-dampened paper towel
5. Apply rubbing alcohol to neutralize any remaining acid
6. Dry completely before inserting new batteries
Pro tip: Apply a tiny drop of petroleum jelly to clean contacts before inserting new batteries—this creates a protective barrier against future corrosion.
Replacing Faulty Wiring Connections
Loose or broken wires cause intermittent operation that frustrates both kids and parents. This common issue occurs where wires connect to the motor or battery compartment.
How to identify and fix:
– Look for wires that pull out easily when gently tugged
– Check for visible breaks in wire insulation near connection points
– Use needle-nose pliers to gently squeeze loose connectors tighter
– For broken wires: strip 1/4 inch of insulation from both ends, twist together, and secure with electrical tape
Repairing Stuck Wheels and Transmission Problems
Freeing Jammed Axles and Gears
Dirt, sand, and small debris often work their way into wheel mechanisms, causing wheels to lock up completely. This is especially common in outdoor toys.
Effective cleaning method:
1. Remove wheels by gently prying with a flathead screwdriver
2. Soak affected parts in warm, soapy water for 15 minutes
3. Use old toothbrush to scrub gear teeth and axle points
4. Rinse thoroughly and dry completely with compressed air or hairdryer
5. Apply one drop of light machine oil (sewing machine oil works well) to moving parts
Warning: Never use WD-40 as lubricant—it attracts more dirt and damages plastic components over time.
Replacing Broken Gears
When gears visibly crack or strip teeth, replacement is necessary. Most toy manufacturers sell individual replacement gears.
Gear replacement steps:
1. Take clear photos of the gear assembly before disassembly
2. Note gear orientation and placement of spacers/washers
3. Remove broken gear using small pliers (apply even pressure to avoid damaging shaft)
4. Slide new gear into position, matching original orientation exactly
5. Test rotation by hand before reassembling entire unit
Fixing Motor and Electrical System Failures

Testing and Replacing Toy Car Motors
A failed motor produces complete silence even with fresh batteries. Before replacing, confirm it’s actually dead.
Motor testing procedure:
1. Remove motor from chassis (usually held by 2-4 small screws)
2. Connect motor leads directly to a fresh battery using alligator clips
3. If motor doesn’t spin, it needs replacement
4. If motor spins, problem lies elsewhere in circuitry
Motor replacement tip: When ordering replacement motors, match the voltage rating exactly (usually 3V, 6V, or 12V printed on motor casing). Using a higher voltage motor will burn out quickly.
Repairing Remote Control Connectivity Issues
For RC toy cars that respond erratically or not at all to the remote:
- Replace batteries in BOTH the car and remote control
- Check antenna connections on both units
- Reset frequency by turning both units off/on simultaneously
- Clean contact points on remote buttons with isopropyl alcohol
- Verify no physical obstacles are blocking signal transmission
Body Repair and Cosmetic Restoration Techniques
Fixing Cracked Plastic Bodies
Broken车身 (bodies) are common when toy cars meet hard impacts. The key to successful repair is proper surface preparation.
Professional-quality plastic repair:
1. Clean broken surfaces with rubbing alcohol
2. Roughen surfaces slightly with fine sandpaper
3. Apply plastic cement (not superglue) to both surfaces
4. Clamp pieces together for 24 hours
5. Sand and paint over repair as needed
Alternative for quick fixes: Use two-part epoxy putty for larger breaks—it’s moldable, dries hard, and can be sanded/painted.
Reattaching Broken Bumpers and Details
Small accessories like bumpers, mirrors, and spoilers often snap off. For these delicate repairs:
- Use cyanoacrylate (super glue) for instant hold on small parts
- Apply glue with a toothpick for precise control
- Hold pieces together for 30 seconds before releasing
- Let cure completely (24 hours) before play resumes
Preventing Future Toy Car Breakdowns
Maintenance Schedule for Long-Lasting Toys
Create a simple maintenance routine to catch problems before they disable your child’s favorite vehicle:
Weekly:
– Check wheel rotation and remove debris
– Wipe down exterior with damp cloth
– Test battery compartment contacts
Monthly:
– Apply light lubricant to moving parts
– Inspect for loose screws or parts
– Clean remote control contacts if applicable
Seasonal:
– Deep clean gear mechanisms
– Replace all batteries (even if working)
– Check wiring for wear
Storage Tips to Extend Toy Life
How you store toy cars between play sessions dramatically affects longevity:
- Keep in climate-controlled environment (avoid hot garages or damp basements)
- Store with wheels off the ground to prevent flat spots
- Remove batteries during extended storage periods
- Use original packaging or dedicated storage containers
When to Consider Professional Repair or Replacement
Some damage exceeds reasonable DIY repair efforts. Consider these factors before investing more time:
Replace when:
– Cost of parts exceeds 50% of new toy price
– Multiple systems are damaged simultaneously
– Child has outgrown interest in the toy
– Safety hazards exist (exposed wiring, sharp edges)
Professional repair worth considering for:
– High-value collectible toy cars
– Sentimental value items
– Complex RC systems with specialized components
Final Tip: Keep a “toy repair kit” with essential supplies—batteries, small screwdrivers, plastic cement, light oil, and replacement gears—to handle most common issues immediately when they occur. This simple preparedness can turn 15 minutes of repair time into hours of renewed playtime, teaching your child valuable lessons about maintenance and problem-solving along the way.