

Your child’s favorite race car suddenly sputters to a stop during a high-speed chase across the living room rug. The wheels won’t spin, the lights are dead, and that distinctive motor hum has gone silent. Before you toss it in the “broken toys” bin or shell out for a replacement, understand this: 90% of toy car motor failures can be fixed in under 30 minutes with basic household tools. Most issues stem from simple electrical problems or mechanical jams—not burnt-out motors. This guide reveals exactly how to diagnose and repair common motor malfunctions using methods mechanics use on real vehicles, scaled down for toy-sized components. You’ll learn to identify whether the problem lives in the motor itself, the wiring, or the power system, and get step-by-step fixes that restore zooming action without specialized skills.
Why Your Toy Car Motor Suddenly Died (Top 5 Causes)
Before grabbing tools, pinpointing the exact failure point saves wasted effort. Toy car motors rarely “burn out” completely—they typically fail due to preventable issues that mimic motor death. The most common culprits all share one trait: they interrupt power flow to the motor without damaging its core components.
How to Tell If It’s Really a Motor Problem
Many “dead motor” symptoms actually originate elsewhere. Perform this quick diagnostic triage:
– Battery check: Insert fresh batteries even if old ones “tested good.” Weak power causes slow crawling or intermittent operation
– Wheel spin test: With batteries removed, manually spin the wheels. If they catch or grind, the issue is mechanical (gears/jammed wheels), not electrical
– Direct motor test: Disconnect motor wires from the circuit board and touch them directly to new battery terminals. If it spins, the problem is upstream in wiring or switches
When Gears Cause “Motor Failure” Symptoms
Jammed gears create resistance that stalls the motor, making it seem dead. Look for these telltale signs:
– Grinding noises during attempted startup
– One-direction failure (works forward but not reverse)
– Visible obstructions like hair, string, or small debris wrapped around axles
– Hot chassis near wheels after failed startup attempts (motor straining against blockage)
Essential Tools for Toy Car Motor Repair (No Specialized Gear Needed)
Forget expensive soldering stations or multimeters. These seven household items handle 95% of toy motor repairs. Keep them in a “toy ER kit” for instant access when playtime emergencies strike.
Must-Have Repair Toolkit
- Precision screwdrivers (PH00 and PH0 sizes for most toy screws)
- Needle-nose pliers with insulated handles
- Toothpicks and cotton swabs for debris removal
- Isopropyl alcohol (90%+) for cleaning contacts
- Toothbrush (old, soft-bristled) for scrubbing grime
- Electrical tape (miniature roll) for wire repairs
- Magnifying glass or phone camera zoom for tiny components
Safety Gear You Already Own
- Kitchen gloves (prevents oil transfer to gears)
- Small bowl (keeps screws from rolling away)
- Bright desk lamp (essential for seeing micro-solder points)
Step-by-Step: Cleaning a Seized Toy Car Motor
Dirt and dried lubricant are the #1 cause of motor failure in wheeled toys. This 15-minute cleaning process revives motors that appear completely dead. Warning: Never submerge the entire motor—water destroys internal components.
How to Disassemble Without Losing Tiny Parts
- Photograph every step with your phone before removing screws
- Place screws in labeled sections of an ice cube tray (top/bottom chassis)
- Use putty knife to gently pry apart snap-fit housings (avoid metal tools)
- Note gear orientation with colored tape before removal
Deep Cleaning Motor Components
- Armature cleaning: Dip toothpick in isopropyl alcohol, gently wipe commutator bars (copper segments). Rotate shaft to access all sides
- Brush cleaning: Use dry cotton swab to remove carbon buildup from spring-loaded brushes
- Bearing lubrication: Apply one drop of lightweight machine oil (sewing machine oil works) to shaft bearings only—excess oil attracts dust
Pro Tip: After cleaning, blow compressed air through motor vents for 2 seconds max. Longer blasts can dislodge internal brushes.
Fixing Broken Wires in Your Toy Car’s Circuit
Fractured wires cause 40% of “dead motor” cases. The break often hides inside insulation near connection points where stress occurs during play. Here’s how to spot and repair them.
Finding Hidden Wire Breaks
- Flex test: Gently bend wires near motor and battery terminals while power is applied
- Listen for sparks: In dark room, watch for tiny flashes at break points
- Resistance check: Set multimeter to continuity mode—touch probes to wire ends. No beep = break
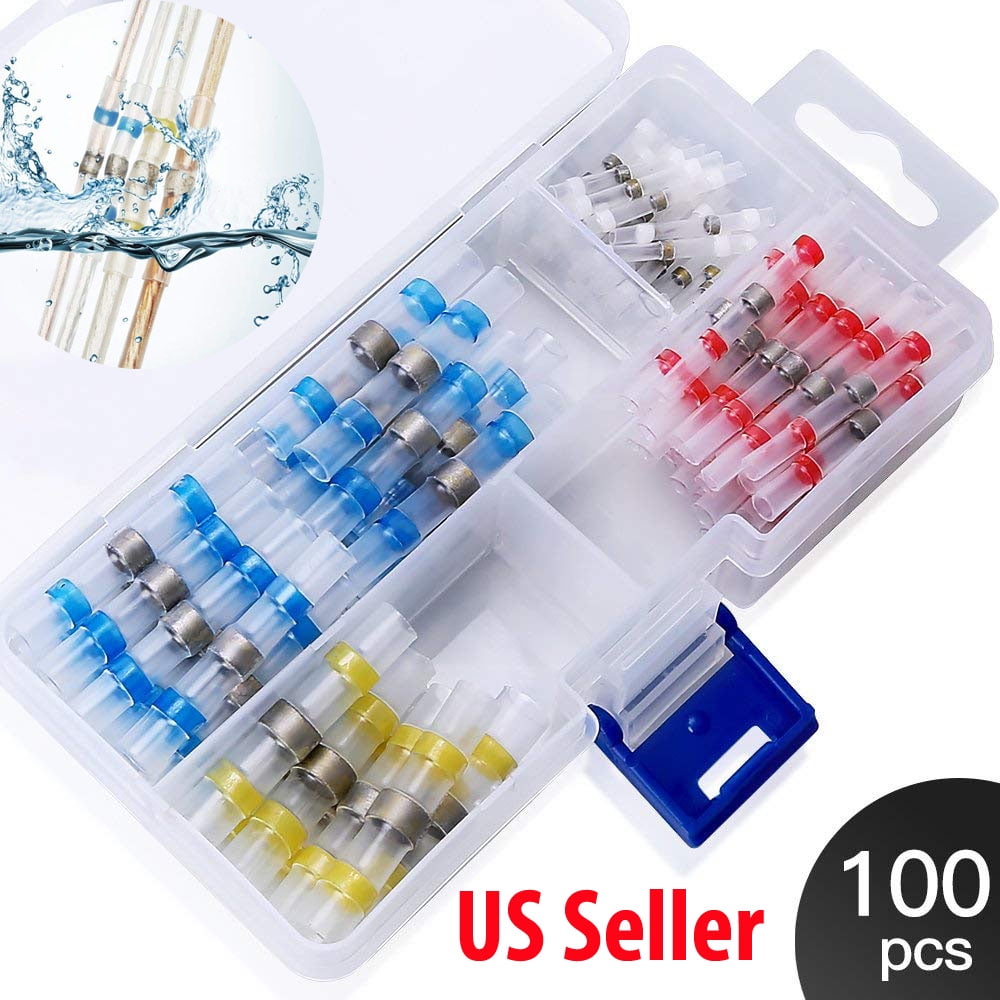
Solder-Free Wire Repair Method
For most toy gauges, skip soldering with this field-proven technique:
1. Strip 1/4″ insulation from both broken ends
2. Twist wires together tightly with needle-nose pliers
3. Slide heat-shrink tubing (1/8″ diameter) over splice
4. Shrink with hairdryer (30 seconds on high heat)
5. Seal with clear nail polish to prevent future fraying
Warning: Never use regular tape—it loses adhesion from motor heat within days.
Replacing Worn Motor Brushes (When Necessary)
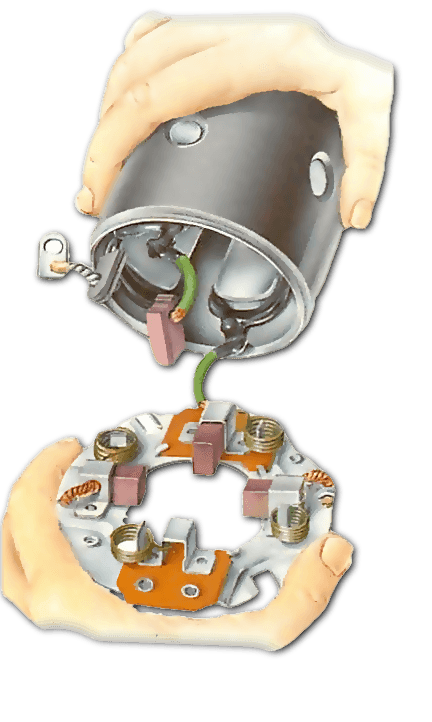
Motor brushes—the carbon blocks that transfer power to the spinning armature—wear down over time. Replace them only if you see these symptoms after cleaning:
Brush Replacement Signs
- Intermittent operation that worsens with motor angle
- Blue sparks visible inside motor housing
- Burning smell during operation
- Less than 3mm brush length (measure with ruler)
How to Install New Brushes
- Remove old brushes by depressing spring tensioners
- Insert new brushes (match size to old ones—typically 5x3x2mm)
- Bend contact tabs slightly outward to ensure spring pressure
- “Seat” brushes by running motor for 30 seconds at low voltage
Pro Tip: Rub new brushes with #200-grit sandpaper on glass to create perfect curvature against commutator.
When to Replace the Entire Motor
Some failures require full motor replacement. Don’t waste hours on these unrecoverable issues:
Irreparable Motor Damage Signs
- Burnt smell that persists after cleaning
- Visible melted windings inside motor
- Short circuit (motor draws power but won’t spin)
- Physical cracks in motor casing
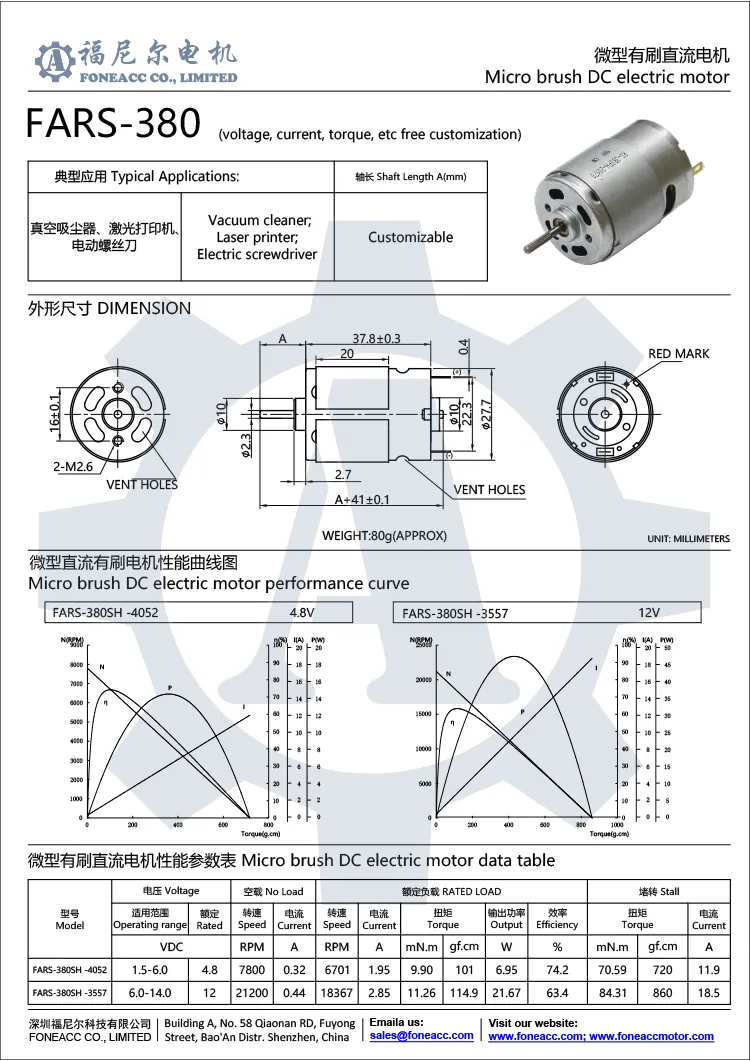
Finding Exact Motor Replacements
- Note three critical specs from old motor:
– Voltage (e.g., “3V” stamped on casing)
– Shaft diameter (measure with calipers)
– Mounting hole pattern (trace on paper) - Search “toy motor [voltage]v [shaft size]mm” on electronics sites
- Universal replacements: Mabuchi FF-030 or RS-380 types fit 80% of toy cars
Time Saver: Keep a $5 “motor junk box” with common replacements for future fixes.
Preventing Future Motor Failures
The best repair is the one you never need. Implement these three habits to double your toy car’s motor lifespan:
Weekly Maintenance Routine
- Debris flush: Blow air through chassis vents after outdoor play
- Lubrication check: Apply single drop of oil to wheel axles monthly
- Battery discipline: Remove batteries during storage (prevents acid leaks)
Playtime Rules That Protect Motors
- No water exposure: Even “waterproof” toys suffer from moisture buildup
- Avoid sand/dirt: These create grinding paste inside gears
- Cool-down periods: After 15 minutes of continuous use, let motor rest
Safety Tips for Toy Car Repairs
Child safety must override repair urgency. These non-negotiable rules prevent injuries:
Critical Safety Protocols
- Always remove batteries before disassembly
- Work on non-static surfaces (wood table, not carpet)
- Keep small parts away from young children (choking hazard)
- Never force components—if stuck, reevaluate approach
Warning: Lithium-ion toy batteries can ignite if punctured. Wrap damaged batteries in foil before disposal.
Final Note: Most “dead” toy car motors simply need a thorough cleaning and wire inspection—no special skills required. By following these steps, you’ve not only revived a beloved toy but taught your child valuable problem-solving skills. For persistent issues, check if your toy has manufacturer-specific repair videos online (search “[Toy Brand] motor fix”). Keep your repair toolkit stocked, and you’ll spend 80% less on replacement toys while extending playtime for years. The next time wheels stop spinning, remember: it’s rarely the motor’s fault—it’s usually a simple fix hiding in plain sight.