
Your stock toy car feels limited, but transforming it into a personalized speed machine or show-stopping custom build is easier than you think. Learning how to modify a toy car unlocks creative expression and performance enhancements that turn a simple plaything into something uniquely yours. Whether you’re working with a basic radio-controlled vehicle, vintage die-cast model, or budget-friendly starter kit, the modification process follows predictable patterns that anyone can master with the right approach. The global toy car modification community has exploded thanks to affordable components and online resources, making now the perfect time to start your customization journey. This guide cuts through the complexity to give you actionable steps for successful modifications at every skill level.
Essential Tools for Your First Toy Car Modification
Before you start how to modify a toy car, gather these fundamental tools that handle 80% of beginner projects without breaking the bank.
Precision Screwdrivers and Hex Keys: You’ll need miniature screwdrivers in multiple sizes (Phillips #000 to #0) to access tiny fasteners in most toy cars. A metric hex key set covering 1.5mm to 3mm sizes handles standard hardware across hobby vehicles. These basic tools cost under $25 and let you disassemble your vehicle without damaging delicate plastic components. Always match the tool size precisely to screw heads—using oversized tools strips fasteners and creates major headaches.
Needle-Nose Pliers and Wire Cutters: These handle electrical connections when upgrading motors or batteries. Use needle-nose pliers to grip small connectors and bend wires into position. Wire cutters with flush-cutting capability make clean electrical connections without damaging surrounding components. Keep electrical tape and heat shrink tubing nearby to insulate connections properly.
Basic Painting Supplies: For your first aesthetic modifications, start with acrylic paints designed for plastics, fine artist brushes, and masking tape. Spray paint formulated for polycarbonate works better than regular spray paint for durable finishes. A small can of plastic primer ensures paint adhesion and prevents peeling during crashes.
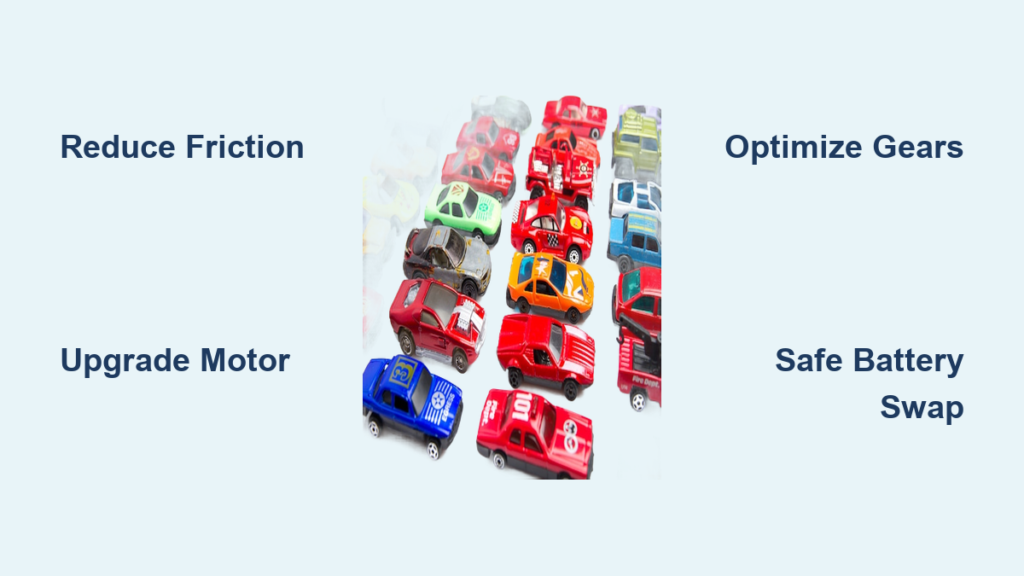
Upgrade Your Toy Car’s Speed in Three Simple Steps

The most common reason people search how to modify a toy car is to increase speed. Follow this proven progression for immediate performance gains without damaging your vehicle.
Step 1: Reduce Friction Throughout the Drivetrain
Open your vehicle and inspect all moving parts. Apply lightweight lubricant to gear teeth and shafts, but avoid excess that attracts dirt. Replace basic bushings with sealed ball bearings where possible—this simple $10 upgrade noticeably improves efficiency. Clean out old grease from differentials and re-lubricate with appropriate fluid. This step alone often yields 15-20% speed improvement on stock vehicles.
Step 2: Install a Higher-Performance Motor
Choose a 20-25% more powerful brushed motor that matches your vehicle’s physical dimensions. For example, upgrading from a standard 20-turn motor to a 17-turn version provides noticeable speed gains without requiring other changes. Carefully disconnect the old motor, noting wire polarity, then secure the new motor with thread-locking compound on mounting screws. Test operation at low throttle first to ensure proper rotation direction.
Step 3: Optimize Gear Ratios
Speed increases require corresponding gear adjustments. Install a slightly smaller pinion gear (the small gear on the motor shaft) to increase top speed. A 1-2 tooth reduction typically provides optimal results without stripping gears. For example, replacing a 24-tooth pinion with a 22-tooth version on a 1/10 scale RC car usually yields the best balance of speed and reliability. Always check gear mesh after changes—gears should engage with minimal play but no binding.
Battery Upgrades That Actually Improve Performance
Most beginners overlook how to modify a toy car’s power system properly, leading to disappointing results or dangerous situations. Follow these safety-focused battery upgrade steps.
Choose the Right Chemistry for Your Skill Level
Start with higher-capacity NiMH batteries before attempting LiPo upgrades. A 3000mAh NiMH pack replaces most stock 1800mAh batteries without requiring ESC modifications. Ensure physical dimensions match your battery compartment—forcing batteries creates dangerous pressure points. Never mix old and new batteries, and always use the charger designed for your specific battery type.
Safe LiPo Upgrade Pathway
When ready for LiPo batteries, begin with a 2S (7.4V) pack matching your vehicle’s voltage limits. Verify your ESC handles the higher voltage—most modern units support 2S, but older models may not. Use balance charging from the first cycle to prevent cell imbalance. Always charge LiPos on non-flammable surfaces like concrete, never on carpets or wood, and never leave charging unattended.
Connector Conversion Made Simple
If your new battery has different connectors than your vehicle, convert only one side—not both. Cut and replace connectors on the battery side rather than modifying your vehicle’s wiring. Solder connections properly with heat shrink tubing covering all exposed metal. Test connections with a multimeter before first use to prevent shorts.
Critical Safety Steps Before Modifying Toy Cars
How to modify a toy car safely separates successful hobbyists from those who damage vehicles or create hazards. Implement these non-negotiable safety practices.
Electrical Safety Must-Dos
• Always disconnect batteries before working on electrical components
• Verify polarity with a multimeter before connecting new components
• Never modify batteries or force incompatible voltage into your system
• Keep lithium batteries away from metal objects that could cause shorts
Chemical and Mechanical Protection
Wear safety glasses when drilling or cutting body parts—polycarbonate shards fly farther than you expect. Work with paints and solvents in well-ventilated areas, preferably outdoors. Keep your workspace organized to prevent tripping while handling sharp tools. Never operate modified vehicles near people until you’ve verified control reliability at low speeds.
Maintenance Routine for Modified Toy Cars
Modified vehicles require different care than stock models. Implement this weekly maintenance checklist to protect your investment.
Post-Run Inspection Protocol
After each use, check these critical points:
– Motor temperature (shouldn’t be too hot to touch)
– Gear mesh tightness (1-2mm play is ideal)
– Bearing smoothness (no grinding or resistance)
– Electrical connections (no melting or discoloration)
Monthly Maintenance Schedule
– Replace shock oil with appropriate viscosity for your driving style
– Clean and re-lubricate drivetrain components
– Inspect tires for uneven wear indicating alignment issues
– Check body mounting points for stress cracks
Storage Best Practices
Store modified vehicles with batteries removed at 50% charge. Keep them in temperature-controlled environments—extreme heat degrades electronics while cold temperatures reduce battery performance. For long-term storage, place lithium batteries in fireproof containers specifically designed for this purpose.
Next Steps After Your First Successful Modification
Your first successful modification proves you know how to modify a toy car effectively. Now what?
Document Your Process
Take photos at each modification stage and note performance changes. This record helps you replicate successes and avoid repeating mistakes. Share your results in online hobby forums—most communities welcome beginner success stories and offer helpful feedback.
Join the Modification Community
Local hobby shops often host beginner modification workshops where experienced builders demonstrate techniques. Online communities provide specific advice for your vehicle model. Search “how to modify [your specific model] toy car” to find targeted resources rather than generic advice.
Plan Your Next Project
Based on your first modification’s results, choose your next upgrade strategically. If speed was your goal but handling suffered, focus on suspension tuning next. If battery life proved limiting, explore higher-capacity options within your safety parameters. Each modification teaches lessons that make the next project more successful.
Mastering how to modify a toy car transforms a passive hobby into an engaging creative outlet that develops mechanical skills and problem-solving abilities. Start small with manageable projects, prioritize safety at every step, and celebrate each successful modification. The toy car modification journey offers endless possibilities for learning and enjoyment—your first custom build is just the beginning of what you can achieve.