
Your Hot Wheels collection shouldn’t be buried in dusty boxes or cluttering your desk. Transform those miniature masterpieces into a stunning wall display that showcases your passion while freeing up valuable space. Whether you’re working with five prized vintage castings or an extensive collection of hundreds, learning how to hang Hot Wheels on wall properly creates an eye-catching feature that grows with your hobby. This guide reveals proven mounting techniques that protect your investment while turning your collection into conversation-starting wall art.
Most collectors struggle with disorganized storage that hides their cars from view and risks damage from handling. Wall displays solve both problems by providing secure, visible storage that actually enhances your collection’s value. You’ll discover methods suitable for every wall type, budget, and collection size—from simple track mounts to museum-quality acrylic cases—all designed specifically for the unique challenges of displaying tiny die-cast vehicles.
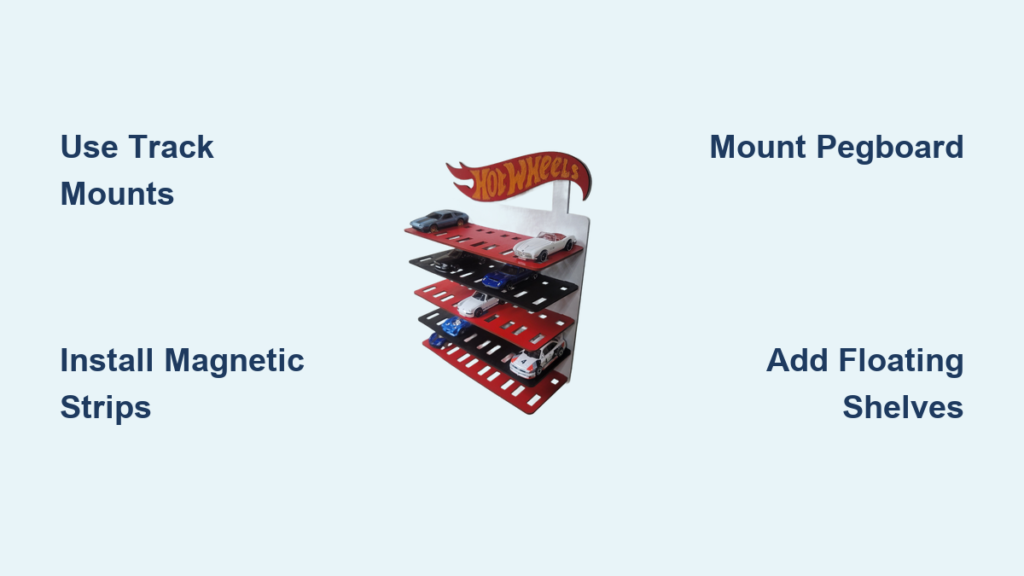
Track Wall Mounts for Beginners
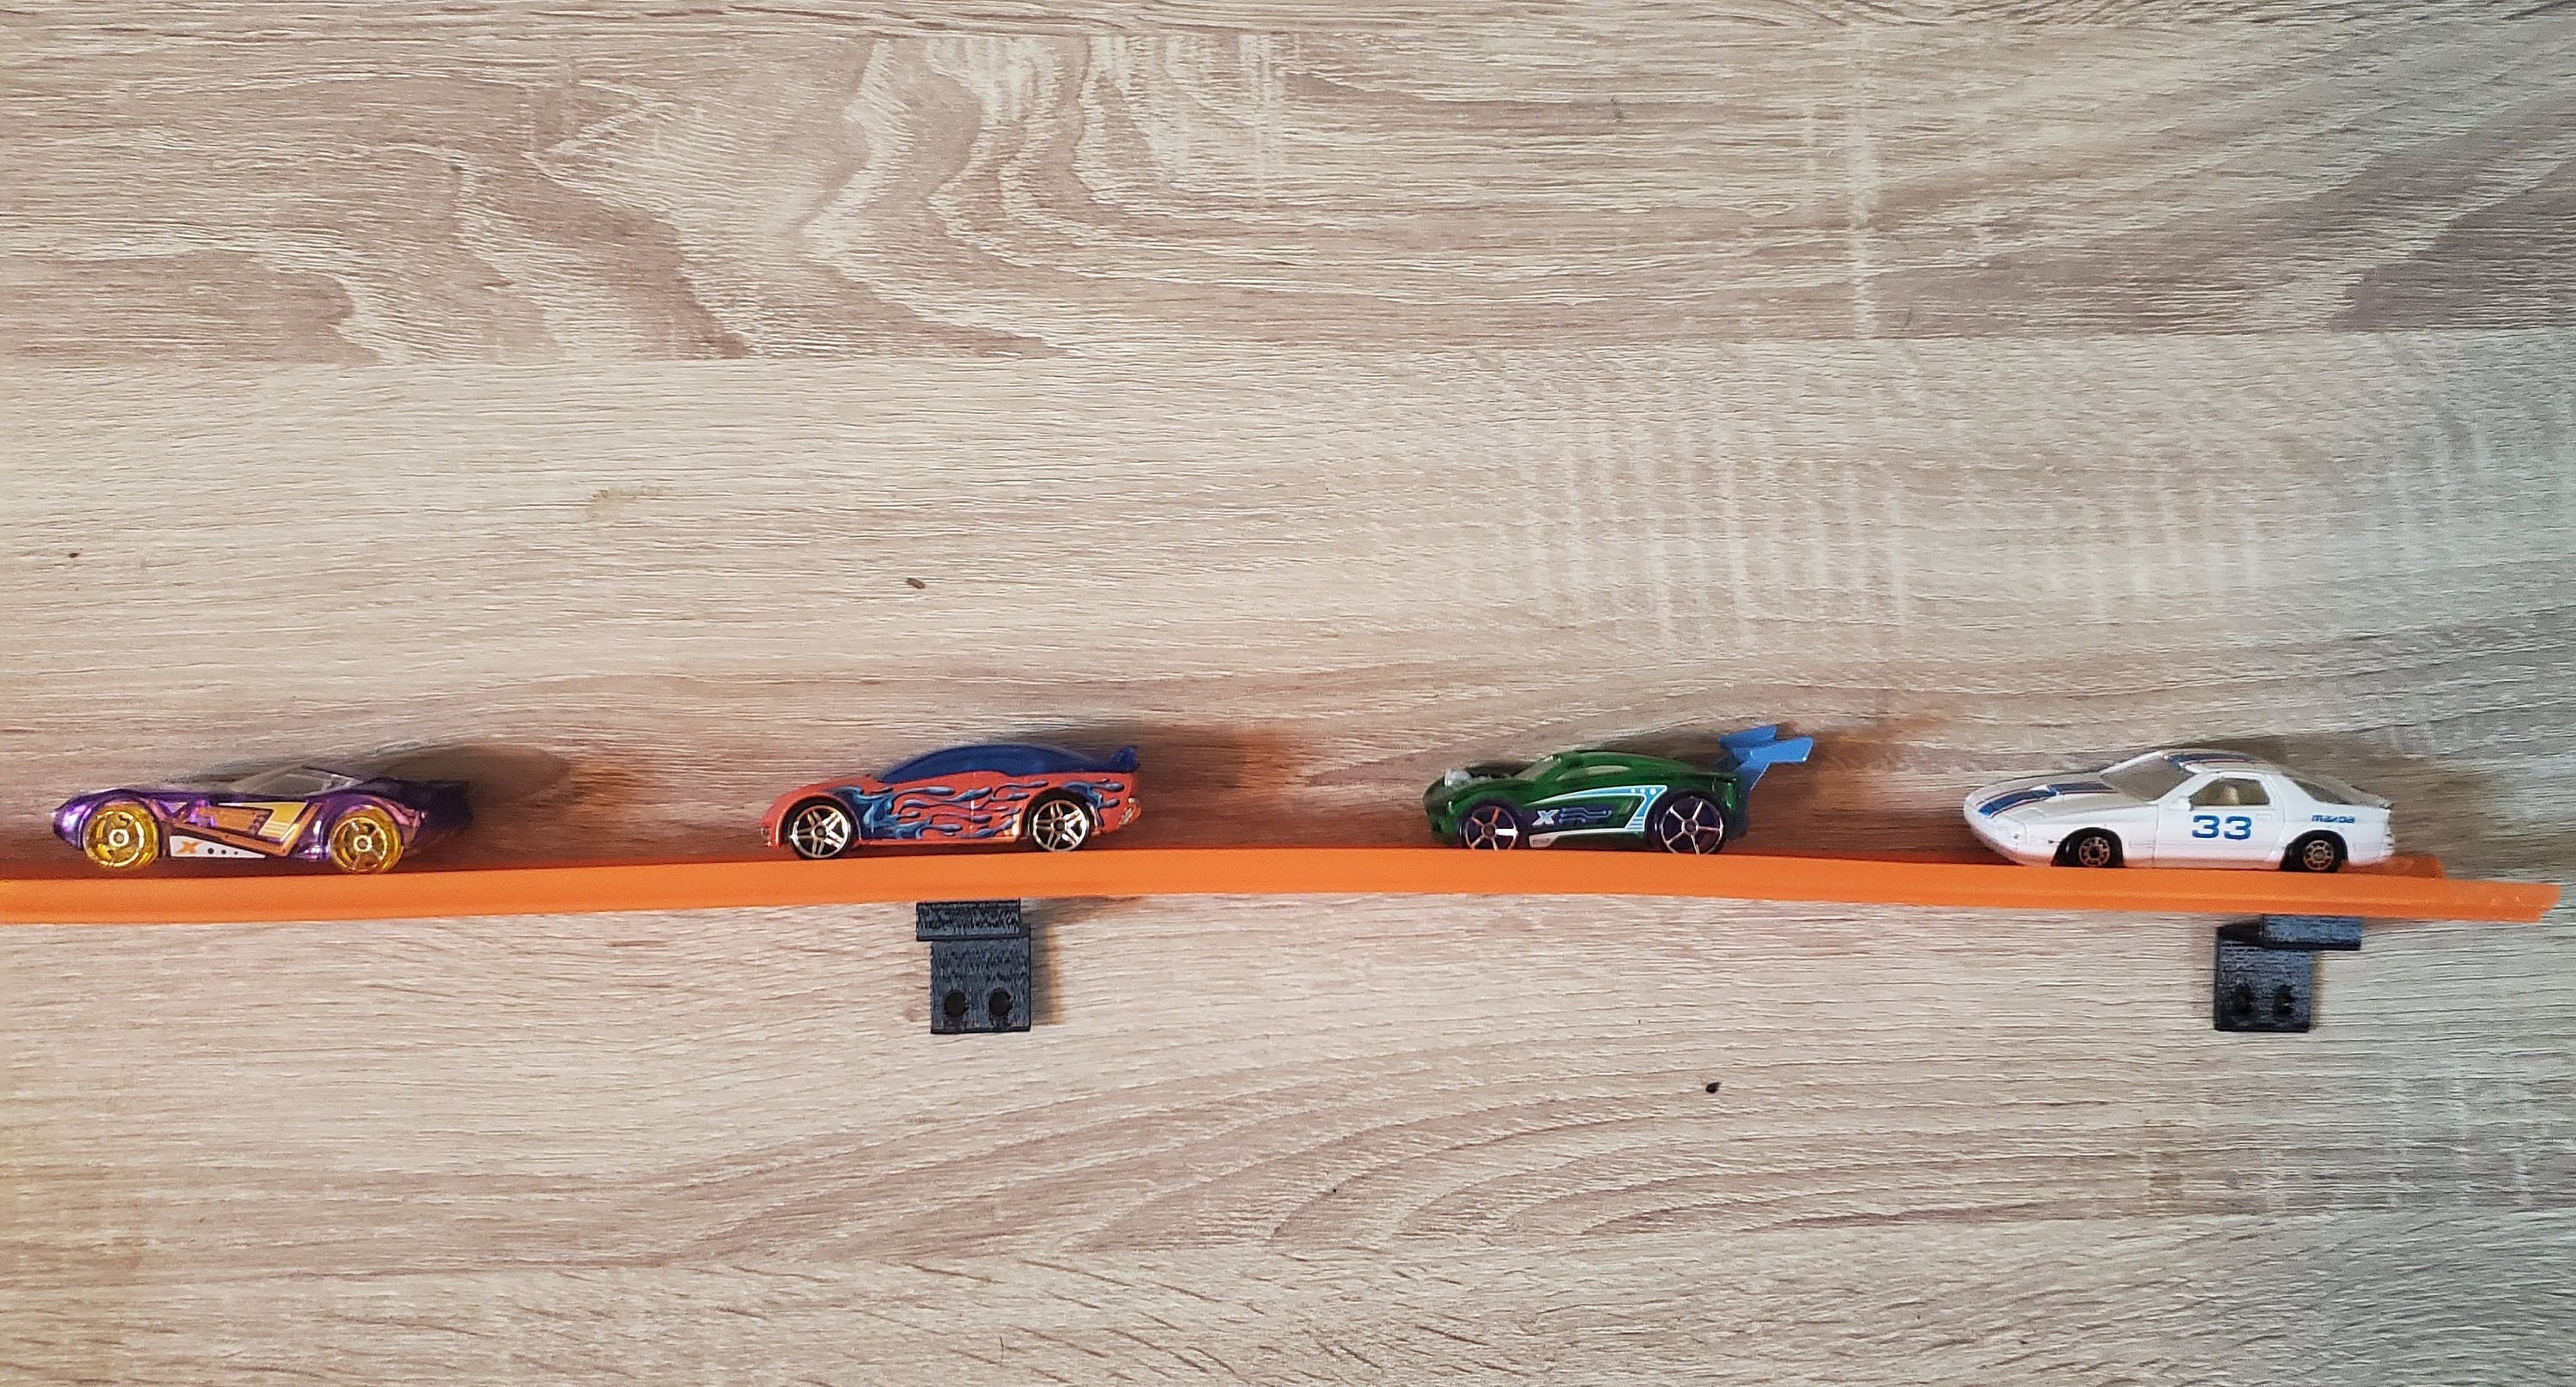
Hot Wheels orange track pieces aren’t just for racing—they’re perfect starter displays that cost virtually nothing. Standard track segments hold 5-8 cars horizontally, with the natural grooves preventing rolling while keeping cars instantly accessible. This budget-friendly approach works especially well for kids’ rooms or starter collections where flexibility matters most.
Cut and Mount Track Sections Properly
Measure your wall space first, then cut track pieces using heavy-duty scissors or a utility knife. For drywall installations, use small L-brackets secured with plastic anchors rated for 5-10 pounds. Command strips work for lighter collections on smooth surfaces. Install tracks with a slight 2-3 degree downward angle—just enough to keep cars from rolling backward but not so steep they become difficult to remove.
Pro Tip: Paint tracks matte black before mounting to create a sleek backdrop that makes your cars pop. Test your angle by placing a car on the mounted track—give it a gentle tap to ensure it stays put without rolling.
Create Vertical Waterfall Effects
Mount track pieces vertically using modified brackets to create stunning waterfall displays. Cars wedge securely between track rails without additional fasteners, creating dynamic diagonal lines across your wall. This method showcases 15-20 cars in a compact 4-foot vertical space, ideal for narrow walls or corners.
Warning: Vertical displays require stronger mounting since weight concentrates at the bottom connection point. Use metal toggle bolts instead of plastic anchors, and never exceed 4 feet in height without additional support brackets.
Magnetic Display Systems
Magnetic strips offer the ultimate flexibility for rearranging displays without removing hardware. These systems work with metal-base Hot Wheels or cars fitted with small rare earth magnets, making them perfect for collectors who frequently rotate their showcases.
Install Magnetic Wooden Strips Correctly
Standard 24-inch wooden strips with embedded neodymium magnets accommodate 12 cars each. Space magnets 2 inches apart for optimal visibility. Mount strips using provided hardware or 3M command strips for damage-free installation. The magnetic approach allows instant repositioning—perfect for collectors who frequently reorganize.
Pro Tip: For best results, position the strips at eye level (approximately 60 inches from the floor) where you naturally view your collection. This creates the most visually appealing arrangement without straining your neck.
Test Magnet Strength Before Full Installation
Not all Hot Wheels have magnetic bases. Test your collection by running a magnet across car undersides. For non-magnetic cars, attach 8mm rare earth magnets using automotive double-sided tape. Position magnets toward the car’s center to maintain balance—too close to the front or back causes cars to tilt.
Warning: Avoid using super-strong magnets that could scratch paint finishes. Test with one car first to ensure the magnetic force doesn’t damage delicate details or decals.
Pegboard Grid Displays
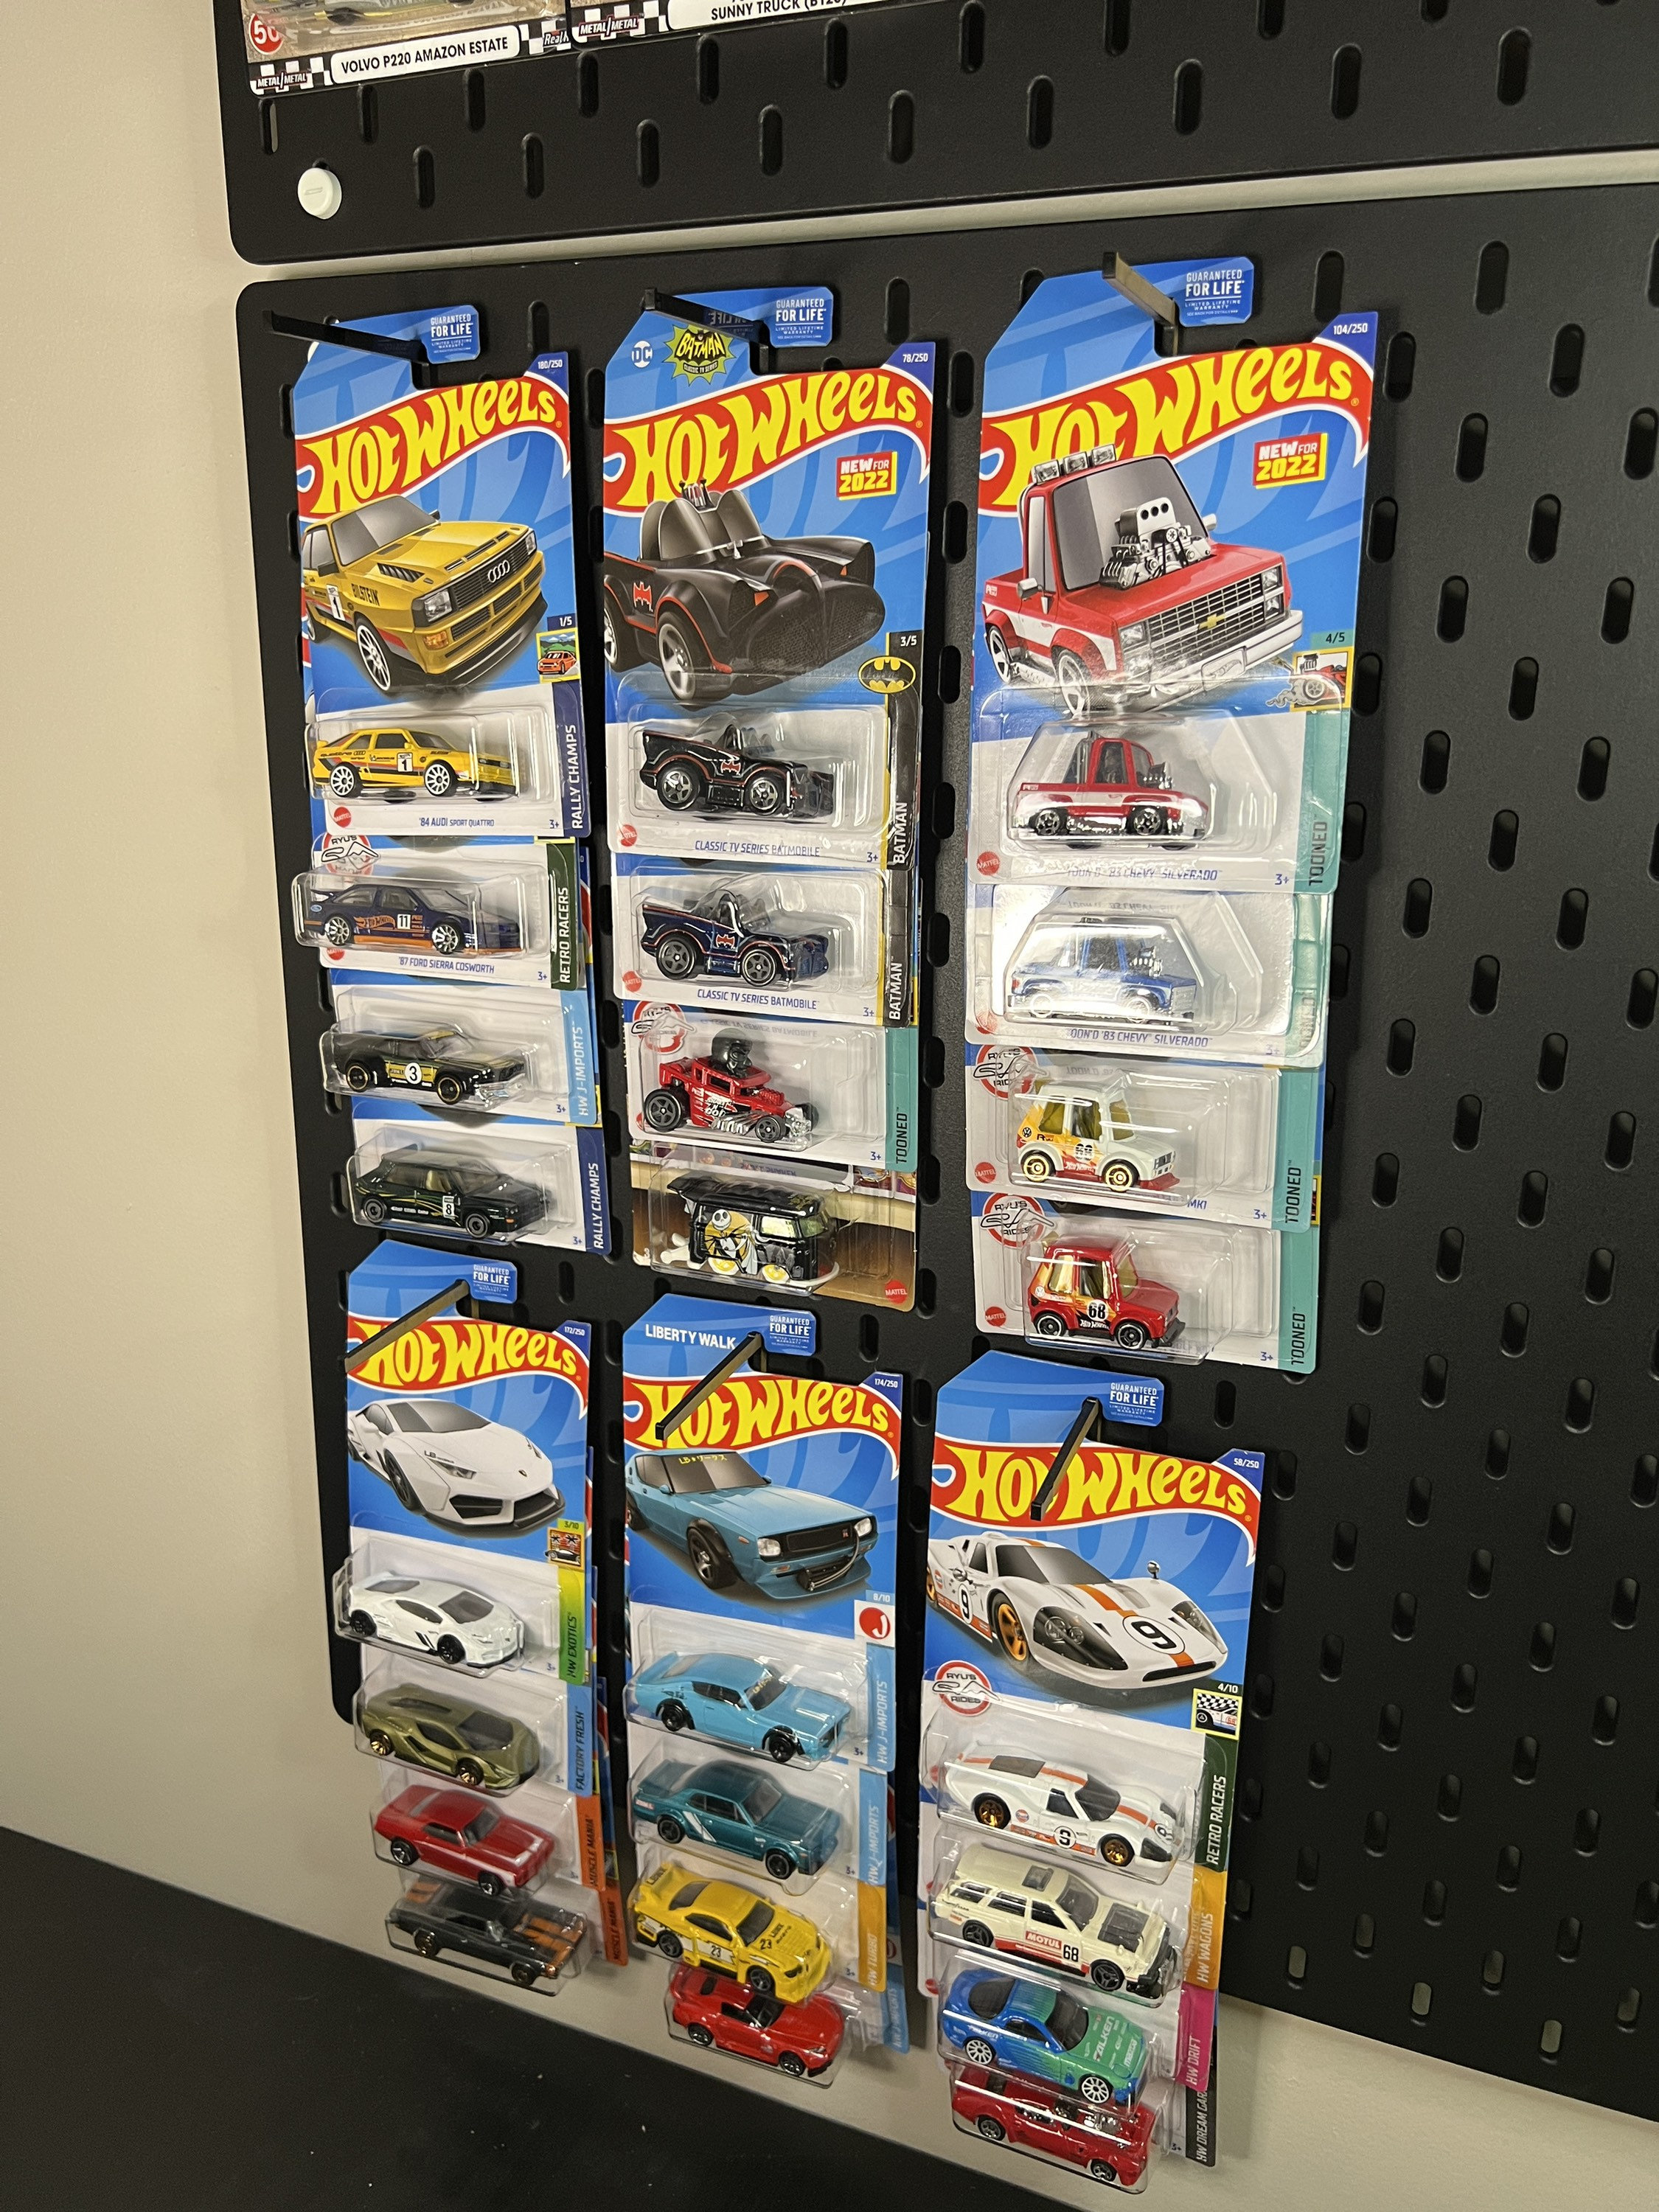
Pegboard creates infinitely customizable display systems that grow with your collection. A single 4×8 foot section displays 150-200 cars using efficient spacing, making it ideal for serious collectors with extensive inventories.
Build Proper Pegboard Foundation
Mount 1/4-inch pegboard using furring strips for hook clearance. Secure to wall studs using 2-inch wood screws every 16 inches. This creates the necessary 3/4-inch gap behind pegboard for hook insertion. Paint pegboard matte black or white to match your room aesthetic—avoid glossy finishes that create distracting reflections.
Pro Tip: Before permanent installation, lay out your pegboard on the floor with all accessories to perfect your configuration. Take a photo as a reference for mounting.
Essential Pegboard Accessories for Hot Wheels
- L-hooks: Hold individual cars by their blister pack holes—ideal for rare or valuable pieces
- Multi-car display bars: Showcase 10-12 cars per horizontal bar for efficient space use
- Specialized Hot Wheels hangers: Grip cars securely without damage at display-ready angles
- Back-lit panels: Add LED strips behind pegboard for dramatic nighttime illumination
Warning: Never overload pegboard hooks—stick to manufacturer weight limits (typically 5 pounds per hook). Distribute heavier cars across multiple hooks to prevent sagging.
Floating Shelf Solutions

IKEA Mosslanda picture ledges transform into perfect Hot Wheels displays at just 2 inches deep. Each 21 ¾-inch shelf accommodates 15-20 cars in single file, creating clean horizontal lines that guide the eye across your collection.
Install Shelves with Proper Spacing
Locate wall studs using electronic stud finders. Install shelves with provided hardware, maintaining 8-10 inches between rows for visual balance. Use 4-foot levels for horizontal alignment across multiple shelves. Create vertical displays by stacking 3-4 shelves for maximum impact.
Pro Tip: For drywall installations without studs, use 25-pound rated toggle bolts rather than standard anchors. The extra effort pays off when your collection grows heavier over time.
Create Color-Coordinated Rows
Arrange cars by color across shelves for stunning rainbow effects. Alternate metallic finishes with solid colors for visual interest. Use shelf spacing to create “speed lines” with similar car types grouped together—muscle cars on one shelf, exotics on another.
Warning: Avoid placing shelves directly above heat sources like radiators or vents, which can damage car paint over time. Maintain at least 12 inches of clearance from any heat source.
Weight and Safety Calculations
Hot Wheels average 1.5-2 ounces each—a 50-car display weighs just 6-7 pounds plus hardware. However, proper weight distribution prevents disasters, especially as collections grow beyond initial plans.
Choose Correct Anchors for Your Wall Type
- Drywall under 10 pounds: Plastic expansion anchors
- Drywall 10-25 pounds: Metal toggle bolts
- Heavy displays 25+ pounds: Molly bolts or direct stud mounting
- Plaster walls: Use plaster anchors or locate studs exclusively
- Brick/concrete: Masonry anchors with hammer drill installation
Pro Tip: When in doubt, over-engineer your mounts. It’s easier to install stronger hardware initially than to repair wall damage from failed mounts later.
Test Stability Before Loading Your Collection
After installation, test each mount by gently pulling with 20 pounds pressure. Install temporary painter’s tape guides before permanent mounting. Never exceed 8-foot height maximum—higher displays require step stools for safe access and maintenance.
Warning: Skip the “just one more car” temptation. Overloading displays stresses mounting hardware and increases the risk of entire sections failing catastrophically.
Budget-Friendly DIY Solutions
Create impressive displays without breaking the bank using recycled materials and creative repurposing. These methods let you start small and expand your wall display as your collection grows.
Repurpose Picture Frames as Display Cases
Old shadow box frames become instant car displays. Remove glass and backing, paint interior colors to match cars. Use small L-brackets to create ledges inside frames. Total cost: $0-5 using materials on hand.
Pro Tip: Add removable backing boards painted in different colors to match seasonal displays or special occasions—simply swap the backdrop without remounting the entire frame.
Build Track Displays Using Recycled Materials
Cut recycled orange track into 12-inch segments. Mount using 3M strips ($3) or small L-brackets ($5 for 20-pack). Create entire displays for under $15 using track pieces you already own. This method works especially well for kids’ rooms where displays may need frequent reconfiguration.
Warning: Avoid using hot glue directly on walls—it may damage paint during removal. Stick to proper mounting hardware even for temporary displays.
Your Hot Wheels collection deserves better than dusty storage boxes. Whether you start with simple track mounts or invest in premium acrylic displays, these proven methods transform tiny cars into stunning wall art. Begin with one small section using your favorite cars, then expand as you discover which display style brings you the most joy. The perfect showcase awaits—those little masterpieces are ready for their spotlight. Remember that learning how to hang Hot Wheels on wall properly protects your investment while creating daily visual enjoyment. Take your first step today by measuring that empty wall space and gathering just a few basic tools—your collection will thank you for years to come.