
There’s nothing more disappointing for a child than hopping into their AMG toy car only to find it won’t power up. Proper charging procedures are essential for maintaining optimal battery performance and extending the lifespan of your child’s favorite ride-on vehicle. Many parents don’t realize that incorrect charging practices can permanently damage the battery, reduce runtime, and even create safety hazards. Following the right charging protocol ensures your AMG toy car delivers reliable performance for countless backyard adventures while protecting your investment.
Most children’s ride-on vehicles like AMG-branded toy cars use rechargeable lead-acid or lithium-ion batteries that require specific charging protocols. The manufacturer designs these systems to work optimally with their recommended charging procedures, and deviating from these guidelines often leads to premature battery failure. Whether you’ve just unboxed a new vehicle or are troubleshooting charging issues with a model you’ve had for some time, understanding how to properly charge your AMG toy car will keep it running smoothly for years to come.
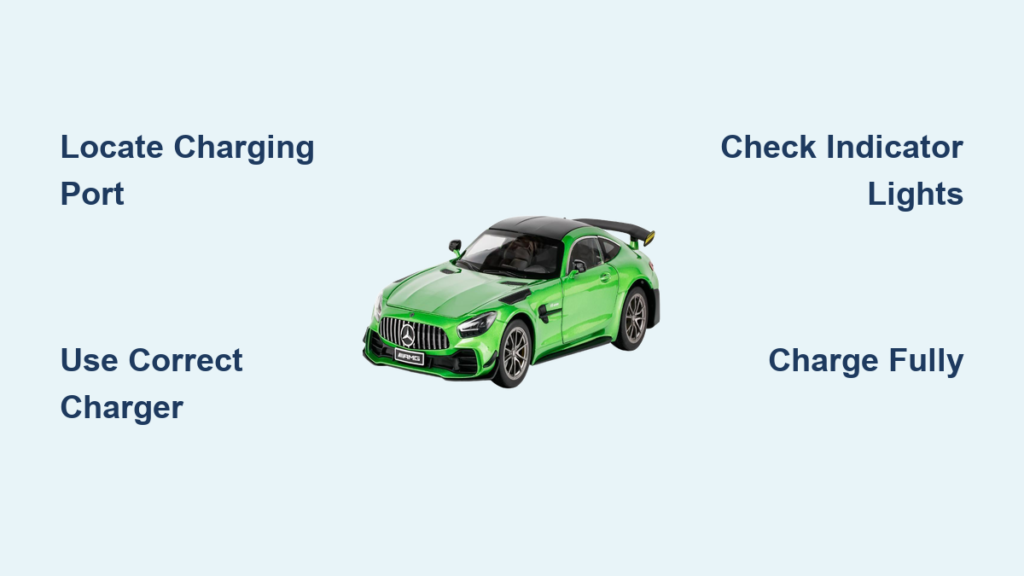
Locate Your AMG Toy Car’s Charging Port Efficiently
Finding the charging port on your AMG toy car requires careful inspection as locations vary significantly between models. Most ride-on vehicles position the charging port on the side panel near the rear wheel housing or underneath the seat area—often protected by a rubber or plastic cover that snaps open. Higher-end models sometimes integrate the port into the dashboard area, while budget-friendly versions typically place it in more accessible locations for easier charging.
Examine your vehicle thoroughly by walking around it slowly, checking both sides and the rear section. The charging port usually resembles a small round socket about the size of a nickel with two or three metal prongs visible inside. If your AMG toy car includes parental control features or a remote override system, check near the battery compartment underneath the seat, as manufacturers often group these electrical components together for convenience.
Before connecting any charger, inspect the port for debris, dirt, or physical damage that could interfere with proper charging. Gently blow into the port or use a soft brush to clear accumulated dust—never insert metal objects as this can damage internal contacts and potentially void your warranty. If you notice corrosion (appearing as white, green, or bluish buildup) or bent pins inside the port, address these issues before attempting to charge to ensure a solid electrical connection.
Connect Your Charger Using Correct Technique
Using the manufacturer-provided charger specifically designed for your AMG toy car model is non-negotiable for safe and effective charging. Generic chargers or adapters from different brands often deliver incorrect voltage or amperage that can severely damage the battery system. Before plugging in, examine your charger for visible damage to the cord, plug, or adapter housing—frayed wires, cracked casing, or burnt smells indicate a faulty unit that should be replaced immediately.
Always plug the charger into the wall outlet before connecting it to your toy car. This sequence prevents potential sparking at the vehicle’s charging port. The connection should feel snug but not require excessive force; if the plug doesn’t fit easily, rotate it to find the correct orientation rather than forcing it. Many chargers feature indicator lights that illuminate when properly connected—typically red during charging and green when complete.
Position the charger on a hard, flat surface away from carpets, bedding, or other flammable materials during the charging process. Ensure the charging cable hangs naturally without tension, as pulling or kinking the cord can damage internal wiring over time. Keep the entire charging setup away from children and pets to prevent accidental disconnection or interference with the charging cycle, which can reduce battery lifespan.
Determine Exact Charging Time for Your Model

Charging duration for AMG toy cars depends primarily on battery type and current charge level, with significant variations between models. Most 12-volt lead-acid batteries require 8-12 hours for a complete charge from fully depleted, while lithium-ion batteries typically reach full capacity in 4-6 hours. New vehicles often need a longer initial charge—sometimes up to 12 hours—to condition the battery for maximum performance.
Battery age and usage patterns significantly affect charging time. Older batteries or those subjected to frequent deep discharges may take longer to charge or fail to reach full capacity. If you notice your AMG toy car running for significantly shorter periods than when new, the battery might be nearing the end of its service life. Tracking charging times helps identify gradual performance degradation before it leaves your child stranded mid-play session.
Never interrupt the charging cycle once started, as partial charges reduce overall battery capacity over time. Allow the full recommended charging period to complete even if the vehicle appears to have adequate power after just a few hours. Some modern models feature smart chargers that automatically stop supplying power at 100% charge, but older models require manual disconnection after the specified time to prevent battery damage.
Interpret Charging Indicator Lights Correctly
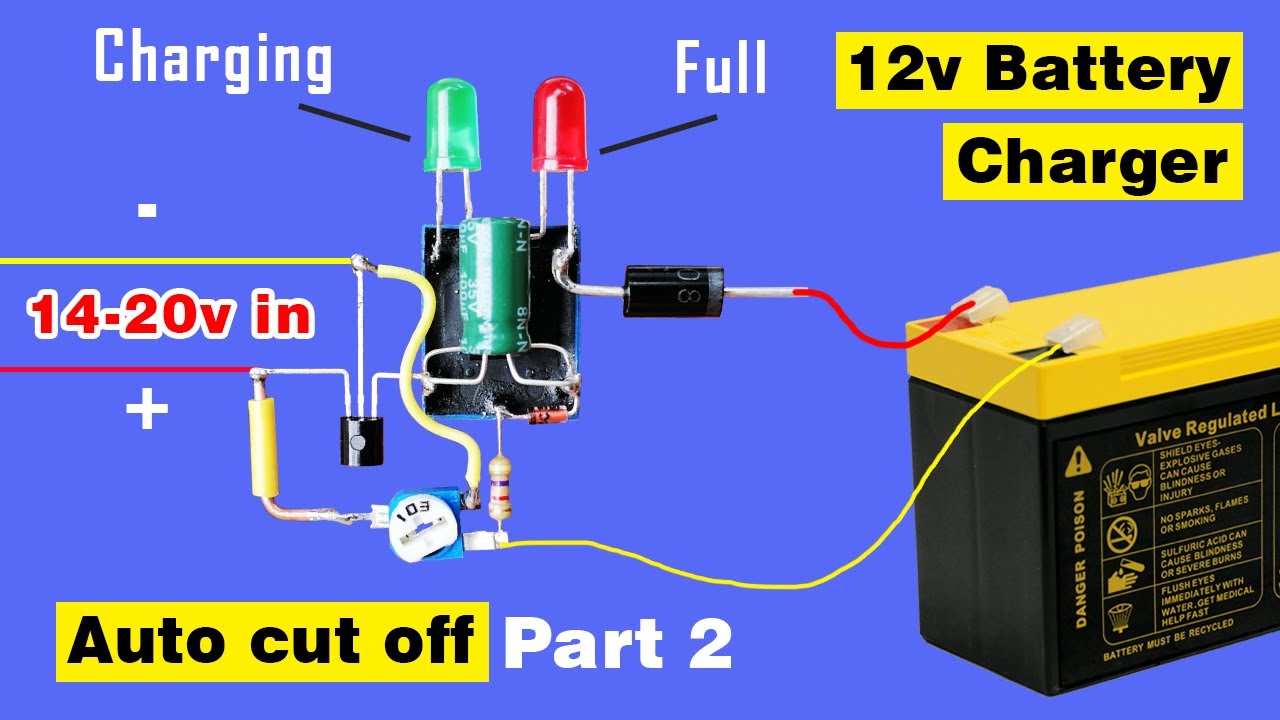
Your AMG toy car’s charger communicates its status through indicator lights, and understanding these signals prevents charging errors. Most chargers use a two-light system where a solid red light indicates active charging and a solid green light signals a full charge. When you first connect the charger, the red light should illuminate immediately, confirming proper electrical connection.
A green light appearing before the recommended charging time has elapsed often indicates a problem rather than successful charging. This could mean the battery isn’t accepting charge, the connection is poor, or internal battery cells have failed. Try disconnecting and reconnecting the charger firmly at both ends—if the green light persists, the battery likely requires professional inspection. Some models feature intermediate yellow or blinking lights that indicate charging progress or potential issues.
Many AMG toy cars also include battery indicators directly on the vehicle’s dashboard. These displays show remaining charge through LED bars, color-coded lights, or battery icons. A blinking red indicator typically signals critically low battery requiring immediate charging, while steady green indicates full capacity. Learning these visual cues helps you schedule charging sessions proactively rather than reacting to dead batteries during playtime.
Fix Common Charging Problems Step-by-Step
When your AMG toy car won’t charge properly, systematic troubleshooting identifies whether a simple fix or professional repair is needed. Start by testing the wall outlet with another device to confirm it’s providing power—many charging issues stem from tripped circuit breakers or faulty outlets rather than vehicle problems.
Inspect the entire charging cable for damage, including subtle kinks or areas where internal wires might be broken. Gently flex the cord near both ends while watching the indicator lights; flickering lights when moving the cord indicate broken internal wiring requiring charger replacement. Also check the vehicle’s charging port for bent pins or corrosion that might prevent proper electrical contact.
Battery-related issues cause most charging problems in older ride-on vehicles. Lead-acid batteries typically last 1-3 years with regular use, while lithium-ion options may extend to 3-5 years before significant degradation. If your vehicle charges normally but runs for only minutes before dying, the battery likely needs replacement. Warning signs include swelling, leaks, unusual odors, or excessive heat during charging—discontinue use immediately if you notice these symptoms.
Extend Battery Life with Proper Maintenance
Proper battery care significantly extends your AMG toy car’s operational lifespan and maintains consistent performance. Store the vehicle in a climate-controlled environment, as extreme temperatures—especially freezing conditions—damage battery cells and reduce capacity. If storing during winter months, fully charge the battery first and recharge it every 4-6 weeks to prevent deep discharge damage.
Keep battery terminals clean and corrosion-free by inspecting them regularly. Clean corroded terminals using a soft brush and baking soda solution, then dry thoroughly and apply a thin layer of petroleum jelly to prevent future corrosion. Always disconnect the battery before cleaning and wear protective gloves when handling cleaning solutions.
Avoid completely draining the battery before recharging, as deep discharge cycles stress cells and gradually reduce capacity. Recharge after each use rather than waiting for the vehicle to stop running. If your child won’t use the toy car for an extended period, fully charge it before storage and top it off monthly to maintain optimal health—these simple practices can double your battery’s effective lifespan.
Replace Batteries Safely and Correctly
When your AMG toy car’s battery reaches end-of-life, selecting the proper replacement ensures compatibility and safe operation. Consult your owner’s manual for exact specifications including voltage (typically 6V, 12V, or 24V), capacity (amp-hours), and physical dimensions. Using an incorrect battery can damage the electrical system or create safety hazards.
Original manufacturer batteries guarantee compatibility but often cost more than quality aftermarket alternatives. Verify that replacement batteries meet or exceed original specifications, with similar or greater amp-hour ratings to maintain runtime. Ensure the physical size fits the battery compartment without modification.
Consider lithium-ion upgrades if your model originally used lead-acid batteries, as they offer longer runtime, faster charging, and lighter weight. However, this may require a compatible lithium charger and could void your warranty—research thoroughly before upgrading. Some conversion kits exist for popular models, but verify compatibility before purchasing.
Final Note: Always consult your specific AMG toy car model’s owner manual for manufacturer-recommended charging procedures, as specifications vary significantly across different models. Implementing these charging best practices ensures years of reliable performance and keeps your child smiling through countless backyard adventures. Regular maintenance and proper charging habits protect your investment while providing safe, dependable fun for your little driver.