
That dusty shelf of Hot Wheels isn’t just childhood nostalgia—it’s a collection worth preserving. Whether you’ve got rare Treasure Hunts worth hundreds or simply want your daily drivers looking showroom-fresh, proper cleaning makes all the difference. This guide walks you through professional techniques that protect paint, restore chrome, and maintain value without damaging your prized cars. Learn exactly how to clean Hot Wheels safely while avoiding costly mistakes that could ruin irreplaceable collectibles.
You’ve probably tried wiping down your cars with a damp cloth only to notice stubborn grime stuck in wheel wells or hazy film on windows. Without the right approach, you risk scratching delicate spectraflame finishes or loosening vintage tampos. By following these proven methods, you’ll transform play-worn racers into display-worthy pieces while protecting high-value collectibles. Let’s dive into the step-by-step process that collectors use to keep their fleets in peak condition.
Assess Your Car Before Cleaning
Identify Materials and Finish Type
Hot Wheels combine multiple materials requiring different approaches. Most feature zamak alloy bodies with plastic windows, rubber tires on premium models, and chrome bumpers or engines. The paint matters too—modern cars use enamel base coats with tampos (decals), while vintage Redlines feature rare spectraflame finishes that scratch easily. Always inspect under bright light to spot thin paint layers or brittle plastic before proceeding.
Determine Cleaning Intensity
A $5 mainline car can handle aggressive scrubbing, but your $200 Super Treasure Hunt needs kid gloves. Play-worn cars? Go ahead and deep clean. Carded collectibles? Skip disassembly entirely. Vintage Redlines from 1968-1977 require specialized restoration techniques—these early cars used different metal compositions and thinner paint. When in doubt, assume your car needs gentle treatment; you can always escalate cleaning intensity later.
Gather Essential Cleaning Supplies
Basic Cleaning Kit
Start with soft-bristled artist paintbrushes (sizes 0-6), lint-free microfiber cloths (300+ GSM), and canned compressed air. Add cotton swabs for tight spaces and a soft toothbrush for textured areas. These tools handle 90% of cleaning needs safely. Never substitute paper towels—they contain wood fibers that create micro-scratches on painted surfaces.
Cleaning Solutions That Work
Dawn Original dish soap mixed with distilled water (1 drop per 8 oz) forms your primary cleaning solution. Keep 91% isopropyl alcohol for stubborn residue, ammonia-free glass cleaner for windows, and the Novus plastic polish system for clear parts. Never use tap water—minerals leave permanent spots on chrome and paint. Always test solutions on the car’s base first to check for adverse reactions.
Remove Dust Without Scratching
Compressed Air Technique
Hold canned air 6-8 inches away at a 45° angle. Short bursts prevent condensation while removing loose debris from wheel wells and grilles. Work systematically—roof to sides to underside—to avoid redistributing dust. For cars on display stands, tilt the stand first to let debris fall away from the car body. This non-contact method preserves delicate tampos better than any cloth.
Precision Wiping Strategy
Microfiber cloths work best with linear motions—never circular. Fold cloth into quarters, using a fresh surface for each panel. Cotton swabs reach window edges and wheel spokes where dust collects. Replace swabs frequently to avoid scratching. For chrome bumpers, apply polish with a swab using dime-sized circular motions, then immediately buff with microfiber to prevent residue buildup.
Wash Heavily Soiled Cars
Safe Washing Procedure
Mix your soap solution in a shallow container. Submerge the car 30-60 seconds to loosen grime—no longer or water seeps into wheel wells. Use a soft toothbrush on the body, smaller brushes for details. Rinse with distilled water only, pat dry with microfiber, then air dry 24+ hours minimum. For wheel wells, use a toothpick wrapped in microfiber to absorb moisture without scratching axles.
Avoid Common Washing Mistakes
Never soak cars overnight—water penetrates wheel wells and causes axle rust. Skip dishwashers entirely (heat warps plastic). Don’t use paper towels (they scratch). Always remove cars from direct sunlight immediately—rapid drying creates water spots. If you see bubbles forming in wheel wells during washing, stop immediately and dry thoroughly to prevent internal corrosion.
Restore Chrome and Metal Parts
Tarnish Removal Process
Apply metal polish with a cotton swab using small circular motions on chrome bumpers and engines. Work in sections the size of a dime. For heavy oxidation, test 0000 steel wool on an inconspicuous area first—use feather-light pressure only. After polishing, wipe with alcohol on a swab to remove residue before buffing to a mirror finish. This process revives dull chrome without damaging underlying metal.
Protecting Restored Chrome
After achieving a mirror finish, apply thin car wax layer with microfiber. This prevents future tarnish for 6-12 months. Store chrome-heavy cars in acid-free tissue paper, never plastic bags which trap moisture. For long-term storage, place silica gel packets in display cases to maintain 40-50% humidity—ideal for preventing new oxidation.
Clean Windows and Clear Parts
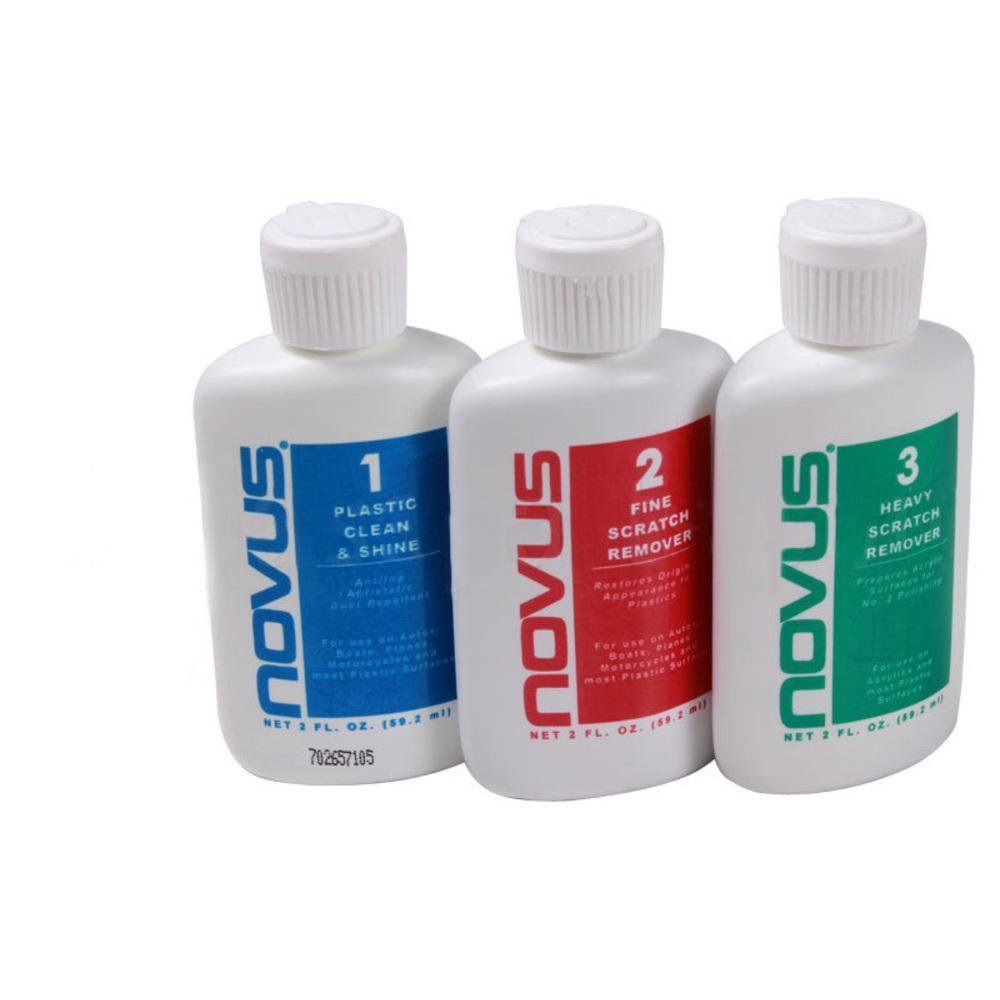
Plastic Window Care
Start with microfiber to remove dust. Apply Novus #2 plastic polish for fine scratches using straight strokes. Follow with Novus #1 for optical clarity. Avoid ammonia-based cleaners—they cloud plastic permanently. For yellowed windows, sunlight often causes irreversible damage, but gentle polishing may improve appearance. Never use window cleaners containing alcohol—they dry out plastic and accelerate cracking.
Tackling Stubborn Window Film
Old cars develop hazy film from plastic outgassing. Use 50/50 isopropyl alcohol and water on cotton swabs. Work slowly—aggressive cleaning scratches plastic. Severely yellowed windows might need replacement from donor cars. When polishing, apply minimal pressure and stop immediately if the plastic feels warm—excessive friction creates micro-fractures.
Remove Specific Stains and Damage

Ink and Adhesive Removal
Ballpoint ink responds to 91% isopropyl alcohol on cotton swabs. Gently dab—never rub hard. For price sticker residue, apply Goo Gone sparingly with toothpick, wash immediately after. Test all chemicals on car bottoms first. For rubber tires, use Meguiar’s Rubber Cleaner with a toothbrush—regular soap leaves greasy residue that attracts more dirt.
Addressing Paint Issues
Faded paint can’t be restored—sun damage penetrates the color coat. Light scratches might improve with automotive polish, but deep scratches need touch-up paint matched to factory colors. Spectraflame finishes require plastic polish only—abrasives destroy the candy coating. If you notice paint lifting at edges, stop cleaning immediately and consult a professional restorer.
Store Clean Cars Properly
Display Case Selection
Use acrylic cases with UV protection for valuable cars. Add desiccant packs to control humidity. Position cases away from windows—even UV-filtered acrylic degrades over time. LED lighting prevents heat damage while showcasing restored finishes. For rotating displays, use turntables on low settings to minimize handling while ensuring even light exposure.
Maintenance Schedule
Dust weekly with compressed air, monthly microfiber wipe-down for displayed cars. Quarterly deep inspection catches new issues early. Store long-term cars in acid-free boxes with silica gel packets. Rotate displayed cars annually to prevent uneven fading. After handling, always wash hands thoroughly—skin oils accelerate oxidation on chrome parts.
Know When to Seek Help
Professional Restoration Signs
Cars worth $100+ should go to professionals. Complex chrome flaking, extensive paint damage, or rare prototypes need expert handling. Seek qualified restorers through Hot Wheels Collectors Club directories—verify with before/after photos of similar cars. If your car has collector value, remember: over-cleaning often decreases worth more than light wear.
Document Everything
Photograph cars before cleaning for insurance purposes. Keep original parts even when replaced. Over-restoration can decrease value—sometimes original patina adds authenticity. Maintain a collection database with cleaning dates and methods used. For valuable pieces, note that ultrasonic cleaners require professional supervision—improper use dissolves tampos in minutes.
Quick Reference Checklist
Before starting:
– [ ] Identify car value and rarity
– [ ] Test cleaning method on common car
– [ ] Gather all supplies first
– [ ] Photograph initial condition
During cleaning:
– [ ] Start gentle, progress slowly
– [ ] Work in small sections
– [ ] Use distilled water only
– [ ] Allow complete drying
After cleaning:
– [ ] Inspect for any damage
– [ ] Apply protective coatings
– [ ] Update collection records
– [ ] Store in appropriate case
Clean Hot Wheels regularly maintain their value and display appeal. Start with basic dust removal before attempting advanced restoration. With practice, you’ll develop an eye for which cars need gentle care versus full restoration—preserving both childhood memories and serious investments. Remember: the goal isn’t museum-perfect shine, but protecting what makes each car special to you. Your collection tells a story—keep it looking its best for the next generation of racers.