
Your child’s favorite ride-on toy sits abandoned in the garage, the battery indicator light stubbornly refusing to show any sign of life. You’ve plugged it in overnight multiple times, but the dashboard remains dark and the wheels won’t budge. When a toy car battery won’t charge, it creates more than just a disappointed child—it disrupts playtime routines and leaves parents scrambling for solutions. Understanding why your toy car battery isn’t charging could save you hundreds of dollars in unnecessary replacements and get your little driver back on the road in under an hour. This guide reveals the most common charging failures and provides step-by-step solutions verified by toy repair technicians, so you can diagnose and fix your toy car battery not charging issue with confidence.
Identifying Why Your Toy Car Battery Won’t Accept Charge
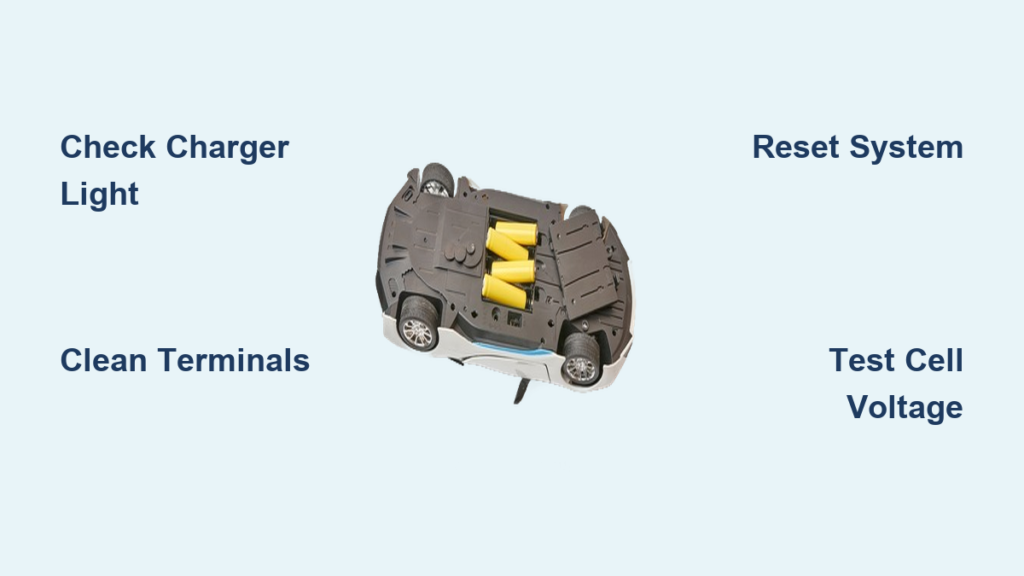
Before grabbing your toolbox, determine whether you’re dealing with a battery problem or a charger malfunction. Most toy car battery not charging issues stem from one of three sources: the power adapter, the battery itself, or the vehicle’s charging circuitry. Start by checking your wall outlet with another device to confirm it’s delivering power—many parents waste hours troubleshooting only to discover a tripped circuit breaker. Next, inspect the charger’s LED indicator; most quality chargers display red while charging and green when complete. If your charger shows no lights whatsoever, the problem likely lies with the power supply rather than the toy car battery itself.
How to Test Your Charger Without Special Equipment
You don’t need a multimeter to perform basic charger diagnostics. Unplug both ends of the charger cable and examine the metal connectors for corrosion or bent pins—common culprits when a toy car battery won’t charge after outdoor use. Try wiggling the cable near the charger body and plug end while it’s connected; intermittent charging often indicates wire damage from repeated bending. For a definitive test, borrow a compatible charger from another toy vehicle (check voltage and connector size first) to see if your battery accepts charge. If the replacement charger works, you’ve found your solution without replacing the entire battery.
When the Battery Indicator Light Behaves Strangely
Strange LED patterns provide valuable diagnostic clues when your toy car battery isn’t charging properly. A flashing red light typically indicates a safety cutoff has engaged due to overheating or voltage mismatch. If the charger light turns green immediately after connecting, your battery may be completely dead or have an internal short circuit preventing proper charging. Some advanced toy vehicles display error codes through their dashboard lights—consult your manual for specific blink patterns that correspond to charging system faults.
Critical Safety Checks Before Attempting Repairs
Proper Ventilation Requirements for Battery Work
Never attempt toy car battery repairs in enclosed spaces—especially with lead-acid batteries that emit hydrogen gas during charging. Work in a well-ventilated garage or outdoors away from ignition sources, as even small sparks can cause dangerous reactions. Keep children and pets clear of your workspace, and avoid wearing metal jewelry that could accidentally short-circuit battery terminals. If you detect a rotten egg smell (sulfur), stop working immediately and move the battery to fresh air—this indicates dangerous off-gassing that requires professional disposal.
Essential Protective Gear for Battery Troubleshooting
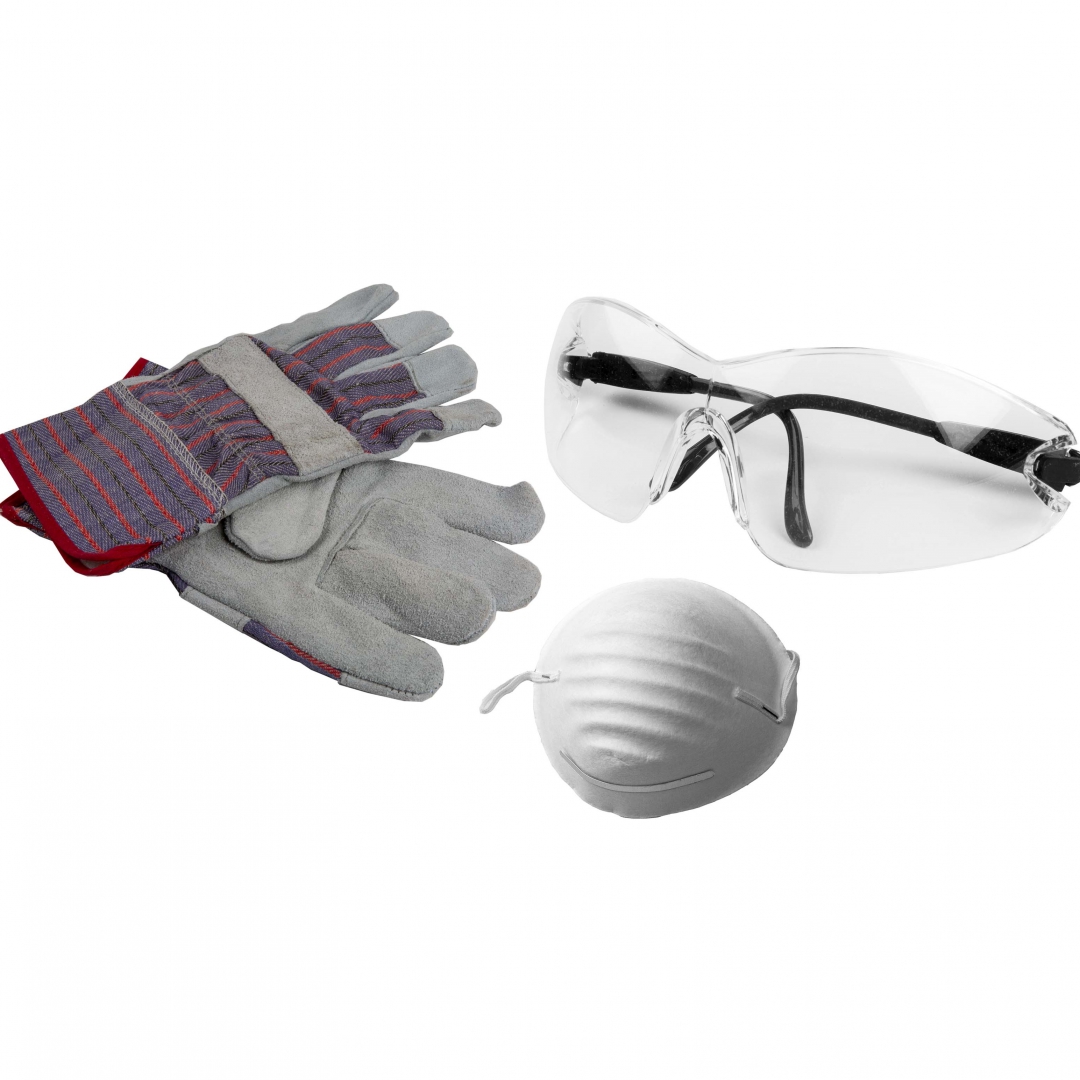
Basic safety equipment prevents serious injuries when diagnosing why your toy car battery won’t charge. Wear rubber-soled shoes and insulated gloves to protect against electrical shocks, even with low-voltage systems. Safety glasses shield your eyes from potential battery acid splashes or sparks during connection tests. Keep a mixture of baking soda and water nearby to neutralize any acid leaks—you’ll recognize them by the white, crusty residue forming around terminals. Never use metal tools to pry open sealed battery compartments, as this can puncture cells and cause hazardous chemical exposure.
Step-by-Step Fix for Common Toy Car Charging Failures
Cleaning Corroded Battery Terminals in 4 Minutes
Corrosion between battery terminals and connectors ranks as the #1 reason for toy car battery not charging issues. Begin by disconnecting both battery cables (negative/black first, then positive/red). Mix one tablespoon of baking soda with one cup of warm water, then dip an old toothbrush in the solution. Gently scrub both battery terminals and connector ends until shiny metal appears—avoid getting solution inside battery vents. Wipe clean with a dry cloth, then apply a thin coat of petroleum jelly to prevent future corrosion. Reconnect cables (positive first, then negative) and test charging immediately.
Resetting the Battery Management System
Many modern toy vehicles incorporate safety cutoffs that disable charging when problems occur. To reset the system when your toy car battery won’t charge, disconnect the battery completely for 15 minutes—this clears error codes stored in the vehicle’s memory. During this time, inspect all wiring harnesses for pinched or frayed sections that might trigger safety protocols. After the waiting period, reconnect the battery and attempt charging again before the system fully powers down. Some models require holding the accelerator pedal to the floor while connecting power to initiate reset mode—check your specific toy’s manual for model-specific procedures.
When to Replace Components vs. Entire Battery
Testing Individual Battery Cells for Failure
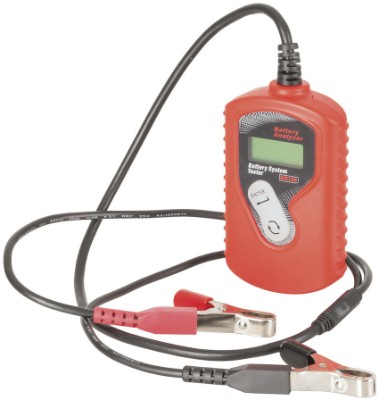
Ride-on toys typically use 6V or 12V lead-acid batteries composed of multiple 2V cells. When one cell fails, the entire battery appears dead even if other cells function. With a $10 multimeter, test each cell by placing probes on the positive and negative terminals of individual compartments (visible as small caps on the battery top). Healthy cells read 2.1V when fully charged; any cell below 1.8V indicates failure. If only one cell is bad, you might save money by replacing just that section rather than the entire battery pack—though this requires advanced soldering skills and safety precautions.
Evaluating Charger Compatibility Issues
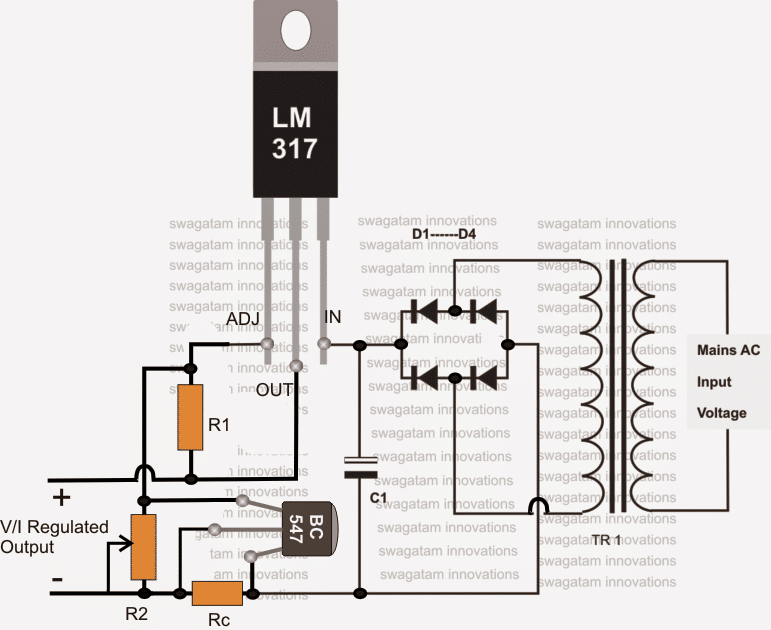
Mismatched chargers cause more “toy car battery not charging” problems than actual battery failures. Verify your charger output matches the battery requirements printed on the label (typically 6V/500mA or 12V/1000mA for most children’s vehicles). Using a higher-voltage charger creates dangerous overcharging risks, while underpowered chargers never complete the charging cycle. Inspect the connector tip diameter and polarity—many parents unknowingly use chargers with reversed polarity that damage battery circuits. When in doubt, purchase an OEM replacement charger rather than risking further damage with universal adapters.
Preventing Future Charging Failures
Proper Storage Techniques for Off-Season
Storing your toy car with a depleted battery guarantees charging problems next season. Before putting vehicles away, charge batteries to 50-70% capacity and disconnect them from the vehicle. Store in a climate-controlled space between 40-70°F—extreme cold reduces battery capacity while heat accelerates degradation. Check stored batteries monthly and recharge when voltage drops below 12.4V (for 12V systems). Applying dielectric grease to terminals before storage prevents corrosion that causes charging failures when you retrieve the toy months later.
Establishing a Charging Maintenance Schedule
Create a simple maintenance routine to avoid future toy car battery not charging issues. After each use, charge for the manufacturer-recommended time (usually 8-12 hours) but never exceed 24 hours. Deep-cycle batteries perform best when kept between 20-80% capacity—avoid complete discharges that strain battery chemistry. Every three months, perform a full discharge/charge cycle to recalibrate the battery management system. Keep a log of charging times and vehicle runtime to detect capacity degradation before it leaves your child stranded.
When Professional Help Becomes Necessary
Certain symptoms indicate problems beyond DIY fixes when your toy car battery won’t charge. Swollen or leaking batteries require immediate professional disposal—do not attempt repairs as they pose fire and chemical hazards. If you smell burning electronics or see melted components near the charging port, the vehicle’s internal circuitry likely needs replacement. Persistent charging failures after multiple battery and charger replacements suggest a deeper electrical system fault requiring specialized diagnostic equipment. Contact the manufacturer before attempting complex repairs on warranty-covered vehicles.
Final Note: Regular maintenance prevents 80% of toy car battery charging issues. By implementing these diagnostic steps and prevention strategies, you’ll extend your child’s ride-on toy lifespan significantly while avoiding unnecessary replacement costs. For immediate playtime needs, keep a backup battery on hand that charges while your child plays with the primary one—this eliminates downtime when charging problems occur. Remember that all batteries eventually reach end-of-life; most quality toy car batteries last 1-3 years with proper care before needing full replacement.