
Nothing shatters a child’s playtime faster than a broken toy car that won’t move. When your child’s cherished racecar sits motionless on the floor or their favorite die-cast vehicle develops a wobble, establishing a functional toy car repair garage at home can rescue countless hours of imaginative play. Most toy car issues are fixable with basic tools and systematic troubleshooting—no expensive replacements needed. This guide shows you exactly how to diagnose common problems, perform effective repairs, and build a dedicated workspace that transforms you from frustrated parent into toy-saving hero.
The emotional impact of a broken toy car extends far beyond the physical object. For children, these miniature vehicles often represent adventures, stories, and comfort objects that fuel creativity and emotional development. When they stop working, it’s not just about the toy—it’s about the world of imagination that grinds to a halt. A home-based toy car repair garage addresses this problem directly, restoring not just functionality but also your child’s sense of security and creative expression. Understanding the different types of toy cars—simple push-toys, friction-powered models, battery-operated vehicles, and sophisticated radio-controlled sets—helps you approach repairs with the right mindset and tools for each specific challenge.
Essential Tools for Your Toy Car Repair Garage Setup
Building an effective toy car repair garage starts with the right tools organized for immediate access. Forget generic “tools you’ll need” lists—focus instead on the precision instruments that actually solve common toy car problems without causing additional damage. A well-equipped toy car repair garage minimizes frustration while maximizing repair success rates, turning what was once a chore into a satisfying bonding activity with your child.
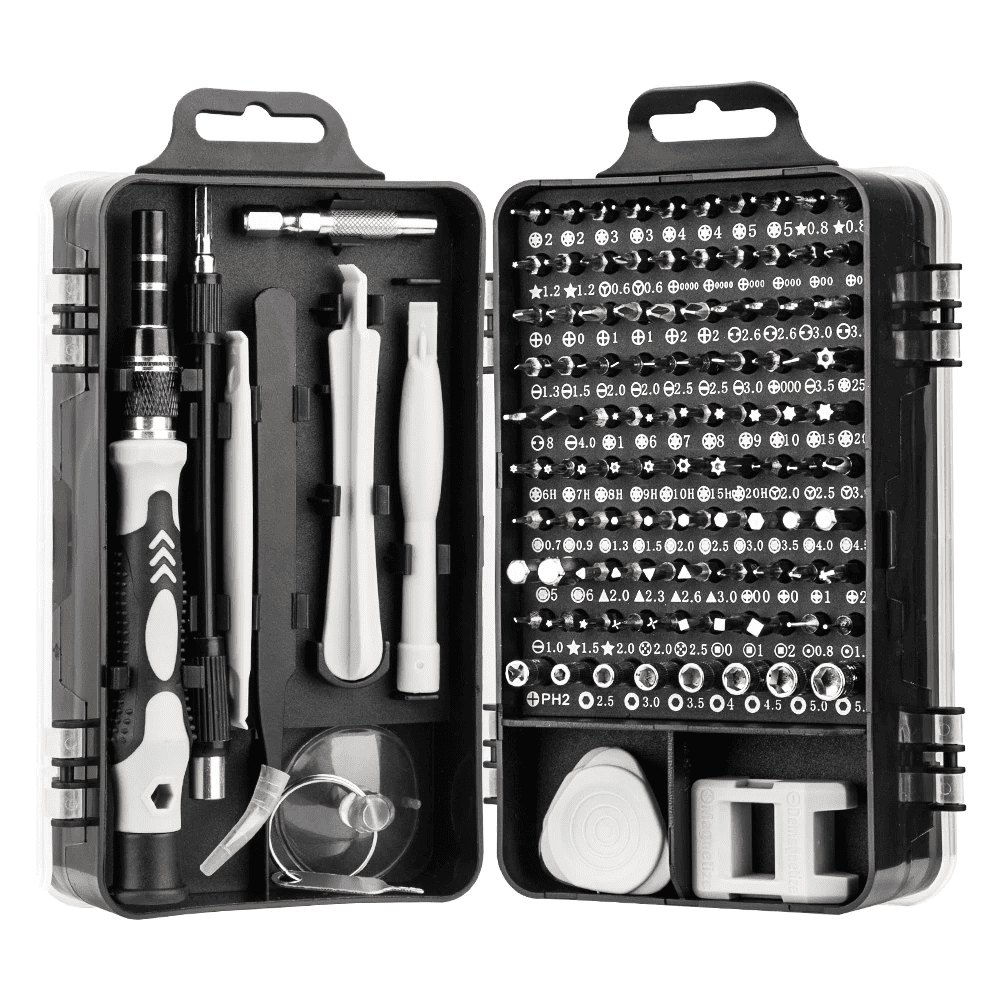
Precision screwdriver sets form the backbone of any serious toy car repair garage. Standard household screwdrivers simply can’t handle the microscopic Phillips #000 and flathead screws found in most toy vehicles. Invest in a magnetic-tipped precision set with at least six interchangeable bits ranging from 0.8mm to 2.0mm. The magnetic feature prevents those tiny screws from vanishing into carpet fibers—a common frustration that derails many repair attempts. Store your screwdrivers in a labeled case with compartments for each size, ensuring you can grab the right tool instantly when a repair opportunity arises.
Specialized opening tools prevent cosmetic damage during disassembly—critical for maintaining toy value and appearance. Thin plastic spudgers, guitar picks, and dedicated pry tools separate snap-fit components without scratching painted surfaces. Never use metal screwdrivers as prying implements; the risk of marring delicate finishes outweighs any time saved. For stubborn seams, apply gentle heat from a hairdryer for 15-20 seconds to soften adhesives before carefully working the seam apart with plastic tools. Keep these opening implements in a separate drawer from metal tools to avoid accidental misuse.
Cleaning supplies maintain both function and appearance during repairs. Compressed air cans remove dust from motors and gears without disassembly, while soft-bristled brushes (like old toothbrushes) clean debris from wheel wells and chassis. For stubborn grime, cotton swabs dipped in 90% isopropyl alcohol clean electrical contacts without damaging components. Microfiber cloths preserve paint finishes during cleaning—never use paper towels which can scratch delicate surfaces. Store these cleaning supplies in a caddy within arm’s reach of your main workspace for quick access during repairs.
Diagnosing Toy Car Problems Like a Pro
Effective toy car repair begins with accurate diagnosis—rushing into disassembly often creates more problems than it solves. Your home toy car repair garage should include a systematic troubleshooting protocol that identifies the actual problem before you touch a single screw. This approach saves time, prevents additional damage, and builds confidence in your repair abilities.
Electrical failure diagnostics require methodical testing starting with the simplest possibilities. Test batteries with a multimeter—many “broken” toys simply need fresh power sources. Check for corroded battery contacts using a magnifying glass, then clean them with a cotton swab and isopropyl alcohol. For intermittent operation, gently wiggle wires while the toy runs to identify broken connections. If motors spin freely but wheels don’t turn, the problem lies in the gear train rather than the electrical system. Document your findings with quick notes or photos to track your diagnostic process.
Mechanical issue identification focuses on movement and sound. Listen for grinding noises indicating gear damage, or feel for resistance when manually rotating wheels. Wobbly wheels typically signal worn axles or bearings, while complete lack of movement suggests stripped gears or disconnected drive mechanisms. Disassemble only as much as necessary to confirm your diagnosis—many problems reveal themselves with minimal disassembly when you know what to look for. Keep a small notebook specifically for recording common failure patterns in different toy brands and models.
Performing Common Toy Car Repairs

With diagnosis complete, your toy car repair garage becomes the stage for restorative magic. The most frequent repairs involve gear replacement, wheel/axle fixes, and body restoration—tasks that become straightforward with practice and the right techniques. Approach each repair systematically, documenting your process for future reference and potential teaching opportunities with older children.
Gear replacement procedures require careful attention to detail. Match replacement gears exactly to originals by counting teeth and measuring diameter—slight variations cause premature failure. Press new gears onto shafts using socket wrenches that contact only the gear’s inner race, never the teeth. Apply a tiny drop of plastic-safe gear grease to meshing surfaces before reassembly. Test gear operation by hand before reinstalling batteries, ensuring smooth rotation without binding. For complex gear trains, take photos at each disassembly stage to simplify reassembly.
Wheel and axle repairs solve the most visible toy car problems. Wobbly wheels often need new bushings—gently press out old ones with a small punch and install replacements using a vise for even pressure. Straighten bent axles by securing both ends in a vise and applying gradual pressure with pliers—check straightness against a ruler after each adjustment. When replacing tires, warm them slightly with warm water to make installation easier, then ensure they’re seated evenly around the wheel rim. These repairs typically take 10-15 minutes once you’ve developed the necessary dexterity.
Maintaining Your Toy Car Repair Garage for Long-Term Success

The true value of your toy car repair garage emerges through consistent maintenance practices that prevent problems before they occur. Establish simple routines that extend toy lifespans significantly while building valuable life skills in both children and adults. These practices transform repair from reactive crisis management into proactive care that preserves play value and emotional connections.
Scheduled cleaning sessions prevent the accumulation of dirt and debris that accelerates wear. Designate one evening per month for “toy car tune-ups” where you and your child inspect and clean vehicles together. Remove wheels to clean axle bearings, blow dust from motors with compressed air, and wipe down bodies with microfiber cloths. This ritual not only maintains toys but also creates bonding opportunities and teaches responsibility. For children’s active play toys, monthly maintenance prevents 80% of common failures.
Proper storage protocols protect repaired toys from environmental damage. Store vehicles in clear plastic bins with dividers to prevent contact damage, keeping them away from direct sunlight that fades colors and weakens plastics. Always remove batteries before storage to prevent corrosion—a single leaking battery can destroy multiple toys. For valuable collectibles, consider acid-free tissue paper wrapping and climate-controlled storage. Teach children to participate in proper storage, reinforcing the value of their possessions.
Battery management systems prevent one of the most common causes of toy failure. Create a labeled charging station where all rechargeable toys go when not in use. Implement a “battery check” before playtime for battery-operated toys, testing voltage with a simple multimeter. For alkaline-powered toys, establish a rule that batteries get replaced when performance noticeably declines—not when the toy completely fails. This proactive approach extends motor life and prevents corrosion damage from drained batteries.
Your home toy car repair garage represents more than just a collection of tools—it’s a space for problem-solving, creativity, and emotional connection. Each successful repair teaches valuable lessons about mechanics, patience, and perseverance that extend far beyond toy restoration. Start small with basic tools and simple repairs, gradually expanding your capabilities as confidence grows. Most importantly, involve your child in the process whenever possible—the pride in a self-repaired toy creates memories that last far longer than the toy itself. With your new toy car repair garage operational, you’ve not only saved money on replacements but also created a legacy of resourcefulness that your child will carry into adulthood.