
Nothing ruins a child’s outdoor playtime faster than a Land Rover toy car that suddenly powers down. Proper charging procedures ensure your child’s ride-on vehicle delivers hours of reliable fun while protecting your investment. Most parents don’t realize that incorrect charging practices can permanently damage the battery within weeks, turning what should be years of enjoyment into a short-lived disappointment. This guide reveals the exact charging steps for Land Rover toy cars that manufacturers expect you to know but rarely explain clearly.
Your Land Rover toy car’s battery performance directly impacts playtime duration and vehicle reliability. Whether you’re dealing with a brand-new model fresh out of the box or troubleshooting charging issues with a previously reliable vehicle, following the correct charging protocol prevents common problems like reduced runtime, battery swelling, or complete charging failure. By the end of this guide, you’ll know exactly how to charge your Land Rover toy car for maximum performance and longevity.
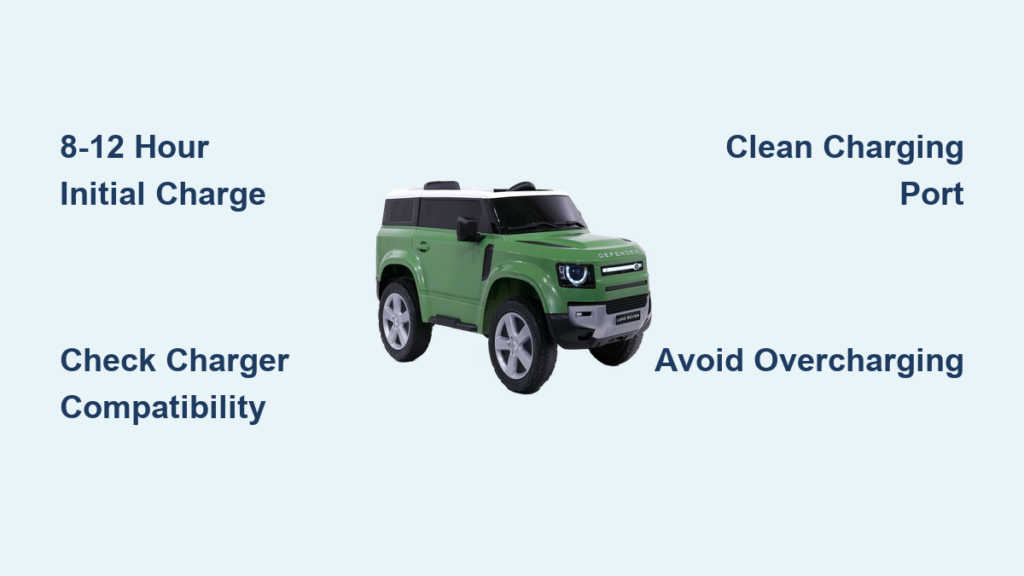
First-Time Charging: The Critical 8-12 Hour Initial Charge
Skip this step and your Land Rover toy car will never reach its full battery capacity. New ride-on vehicles require an extended initial charge that most parents mistakenly cut short after just a few hours. The battery cells need this complete conditioning cycle to establish their maximum energy storage capability for future use.
Connect the charger to your Land Rover toy car before plugging it into the wall outlet—reversing this sequence can damage sensitive circuitry. Watch for the indicator light to turn solid red, confirming proper connection. This first charge must run uninterrupted for the full 8-12 hours, even if the vehicle arrived with partial charge showing. Many parents make the critical error of letting children “test drive” the vehicle while charging, which prevents the battery from reaching full capacity and creates dangerous heat buildup.
Leave the vehicle powered off during this initial charge cycle. The dashboard may show some charge indication during this period, but resist the urge to stop charging early. That extra patience during the first charge translates to 20-30% more playtime per charge throughout the battery’s lifespan. Always perform this initial charge in a dry, temperature-controlled environment between 60-80°F for optimal battery conditioning.
Identifying Your Specific Charger and Port Configuration

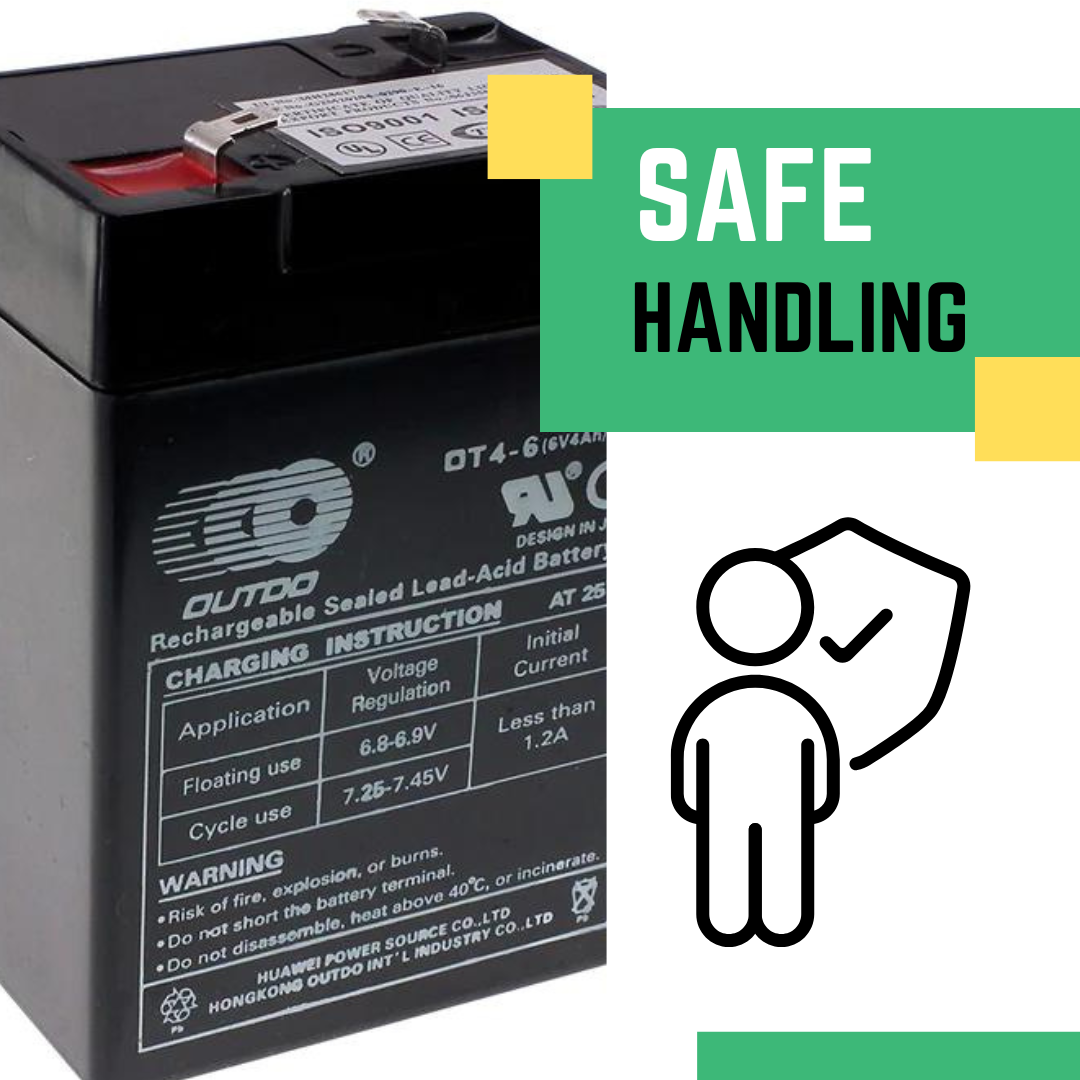
Your Land Rover toy car came with a charger specifically designed for its battery type and voltage—using any other charger risks permanent damage. Most models use either 6V, 12V, or 24V systems with corresponding chargers that should never be interchanged. The charger’s label clearly states its output specifications; verify these match your vehicle’s requirements before each use.
How to Interpret Charger Indicator Lights Correctly
That blinking red light means something completely different than a solid red light, and misunderstanding these signals causes unnecessary battery damage. A steady red light indicates active charging in progress, while a solid green or blue light confirms full charge completion. Some advanced models use amber lights during the absorption phase or pulsing patterns during maintenance charging.
Check your owner’s manual for your specific model’s indicator patterns—never assume all Land Rover toy cars use the same light system. If the light shows green immediately after connecting a depleted battery, this indicates either a faulty charger or a battery that’s become too deeply discharged to accept charge.
Inspecting Charging Components Before Each Use
Before plugging in, examine both the charger and vehicle port for damage that could prevent proper charging. Run your fingers along the charger cord looking for soft spots that indicate internal wire damage, check for frayed sections near the plug ends, and inspect the vehicle’s charging port for debris or corrosion.
A bent charging pin or corroded port connection is one of the most common reasons parents think their battery is dead when it’s actually a simple connection issue. Use a cotton swab with isopropyl alcohol to gently clean corrosion from metal contacts—never use metal tools that could cause short circuits. Replace damaged chargers immediately rather than risking fire hazards from compromised components.
Standard Charging Procedures After Initial Setup
Once past the initial charge, subsequent charging sessions require less time but still demand proper technique. Most Land Rover toy car batteries reach full capacity within 6-8 hours under normal conditions, though colder temperatures can extend this time by 25-50%.
Optimal Charging Duration for Maximum Battery Health
Charge your Land Rover toy car overnight after play sessions to ensure full readiness for the next day. Modern chargers automatically switch to maintenance mode when full charge is reached, making overnight charging safe. However, never leave the vehicle connected for more than 24 consecutive hours, as even smart chargers can occasionally malfunction.
The critical mistake most parents make is charging after every short play session. Batteries perform best when discharged to 20-30% capacity before recharging. Frequent top-up charges without significant discharge cause “charge memory” that reduces overall battery capacity over time. Track your child’s typical play duration to establish an appropriate charging schedule—most 12V models need charging after 1-2 hours of continuous use.
Recognizing When Charging Is Complete
Don’t rely solely on indicator lights to determine full charge—verify with a voltage meter if possible. A fully charged 12V battery should read approximately 12.6-12.8 volts when measured directly at the battery terminals. If the vehicle runs significantly shorter than expected despite showing full charge, the battery may be failing or the charger might not be delivering proper voltage.
Critical Safety Measures During Charging
Charging your Land Rover toy car improperly creates serious fire and electrical hazards that many parents overlook. Always charge on hard, non-flammable surfaces like concrete garage floors—not on carpets, rugs, or near flammable materials like gasoline containers or paint cans.
Temperature Control During Charging
Batteries generate heat during charging, and external heat sources dramatically increase fire risk. Never charge your Land Rover toy car in direct sunlight, near space heaters, or in enclosed spaces without ventilation. The ideal charging temperature range is 50-80°F—charging outside this range reduces battery lifespan and creates safety hazards.
Stop charging immediately if you notice unusual warmth from the battery compartment, burning smells, or visible swelling of the battery case. These indicate dangerous thermal runaway that could lead to fire or chemical leaks. Move the vehicle to a safe outdoor location and contact the manufacturer before attempting further charging.
Troubleshooting Common Charging Failures
When your Land Rover toy car won’t accept a charge, systematic troubleshooting saves time and prevents unnecessary battery replacement. Start with the simplest solutions before assuming battery failure.
No Indicator Light When Plugged In
First verify the wall outlet works by testing with another device. Then check both ends of the charger connection—many charging failures occur because the connector isn’t fully seated in the vehicle’s port. Inspect the charger for a replaceable fuse (typically in the plug end) and test with a multimeter if you have one.
If the charger shows power but the vehicle still won’t charge, the problem likely lies with the battery’s internal protection circuit. This safety feature cuts off charging when battery voltage drops too low, requiring specialized equipment to reset. In these cases, professional service or battery replacement becomes necessary.
Vehicle Runs But Won’t Hold Charge
Progressively shorter playtimes indicate battery degradation rather than charging problems. Batteries typically last 1-3 years depending on usage and maintenance. If your vehicle now runs less than half its original duration despite proper charging, the battery has likely reached end-of-life and needs replacement.
Extending Battery Lifespan Through Proper Care
Your Land Rover toy car’s battery longevity depends more on charging habits than the battery itself. Simple maintenance routines double or triple battery lifespan, saving you replacement costs and maximizing playtime.
Optimal Storage Practices
Store your Land Rover toy car with the battery at 50-70% charge during extended non-use periods. A fully charged battery degrades 30-50% faster in storage than one kept at partial charge. Recharge stored batteries every 4-6 weeks—even if unused—to prevent deep discharge damage that permanently reduces capacity.
Remove the battery for winter storage in cold climates. Temperatures below freezing cause permanent damage to lead-acid batteries, while lithium models suffer reduced performance until warmed. Store batteries in a climate-controlled space away from metal objects that could cause short circuits.
Cleaning and Terminal Maintenance
Corroded battery terminals are a silent battery killer that most parents ignore. Monthly, disconnect the battery and inspect terminals for white or blue crusty buildup. Clean with a wire brush dipped in baking soda solution, then rinse with water and dry thoroughly before reconnecting.
Tighten all terminal connections after cleaning—loose connections cause voltage drops that make the vehicle seem underpowered. Apply a thin coat of petroleum jelly to clean terminals to prevent future corrosion while maintaining good electrical contact.
When to Replace Your Land Rover Toy Car Battery
Recognizing end-of-life symptoms prevents frustration from blaming the vehicle for battery failure. If your properly maintained battery now takes significantly longer to charge or provides noticeably shorter runtime, replacement becomes necessary.
Selecting the Correct Replacement Battery
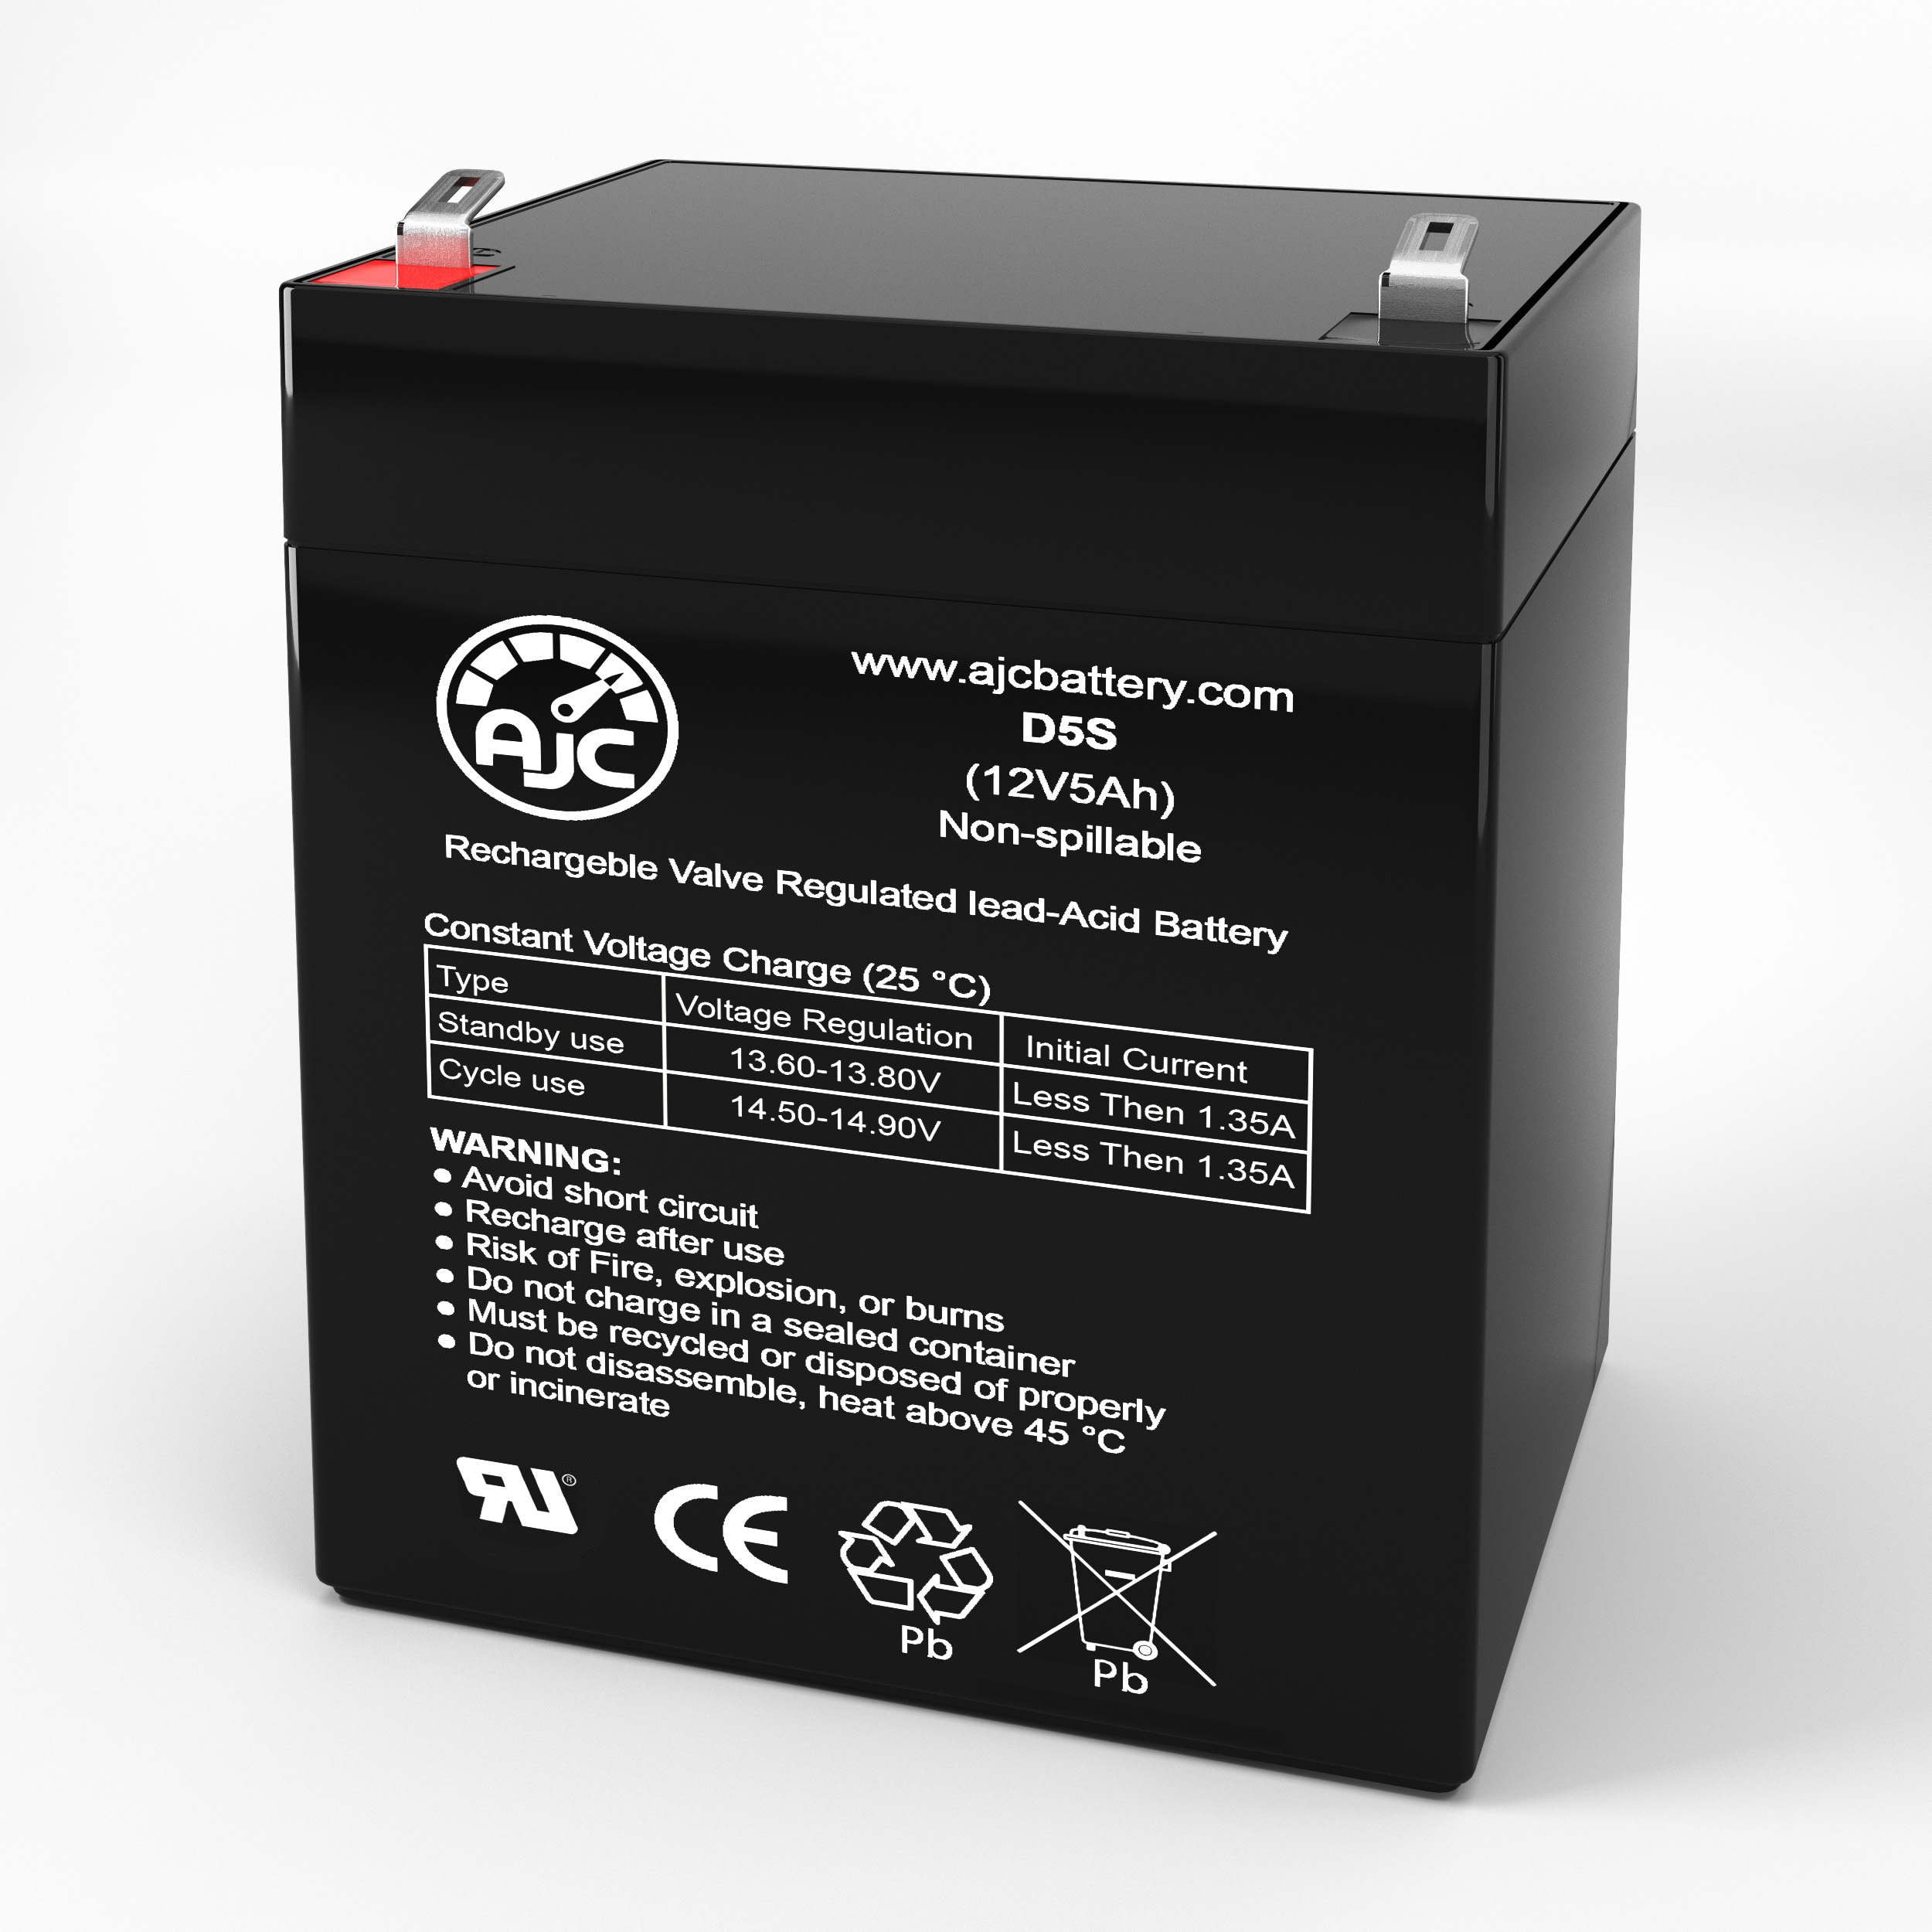
Match voltage and capacity specifications exactly—using a higher voltage battery creates dangerous overvoltage conditions. Most Land Rover toy cars use standard 12V 7-10Ah lead-acid batteries, but always verify your model’s requirements. Choose reputable brands with safety certifications rather than the cheapest option, as substandard batteries pose fire and leakage risks.
Dispose of old batteries properly at designated recycling centers—never in household trash. Many auto parts stores accept used batteries for recycling, often with no purchase required. Some retailers even offer small incentives for battery recycling.
Quick Reference Charging Checklist
- ✅ Charge new vehicles 8-12 hours before first use
- ✅ Charge in dry, temperature-controlled environments
- ✅ Verify charger matches vehicle voltage requirements
- ✅ Never charge on carpet or near flammable materials
- ✅ Allow batteries to discharge to 20-30% before recharging
- ✅ Store at 50-70% charge during non-use periods
- ✅ Clean terminals monthly and check connections
- ✅ Replace batteries showing significantly reduced runtime
Following these precise charging procedures ensures your Land Rover toy car delivers reliable performance for years rather than months. Consistent attention to proper charging technique protects your investment while keeping playtime safe and uninterrupted. When in doubt about your specific model’s requirements, consult the manufacturer’s documentation rather than guessing—those few minutes of verification prevent costly mistakes that ruin batteries prematurely.